


1.LNMP架构概述
LNMP就是Linux+Nginx+MySQL+PHP,Linux作为服务器的操作系统,Nginx作为Web服务器、PHP作为解析动态脚本语言、MySQL即为数据库。
Linux作为服务器的操作系统。
Nginx作为WebServer服务器。
PHP 作为动态解析服务(php)。
MySQL作为后端存储数据库服务。
Nginx服务本身不能处理PHP的请求,那么当用户发起PHP动态请求, Nginx又是如何进行处理的。
用户-->http协议-->Nginx-->fastcgi协议-->php-fpm
注意: fatcgi是nginx连接php-fpm之间的协议。
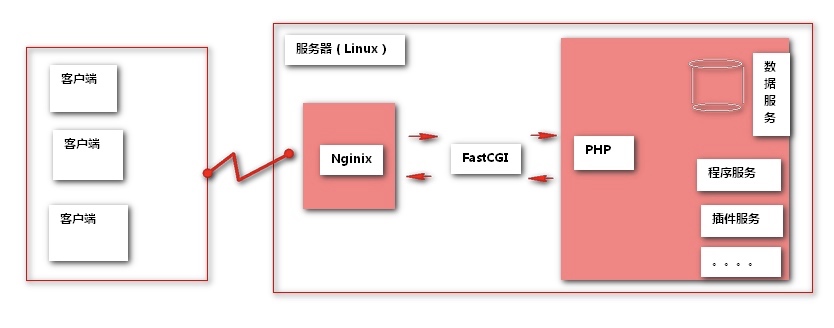
Nginx与Fast-CGI详细工作流程如下:
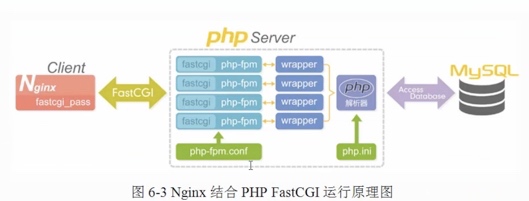
1.用户通过
http协议发起请求,请求会先抵达LNMP架构中的Nginx
2.Nginx会根据用户的请求进行判断,这个判断是有Location进行完成
3.判断用户请求的是静态页面,Nginx直接进行处理
4.判断用户请求的是动态页面,Nginx会将该请求交给fastcgi协议下发
5.fastgi会将请求交给php-fpm管理进程,php-fpm管理进程接收到后会调用具体的工作线程warrap
6.warrap线程会调用php进行解析,如果只是解析代码php直接返回
7.如果有查询数据库操作,则由php连接数据库(用户 密码 IP)然后发起查询的操作
8.最终数据由mysql->php->php-fpm->fastcgi->nginx->http->user
2.安装LNMP架构
1) 使用官方仓库安装Nginx
[root@nginx ~]
[nginx]
name=nginx repo
baseurl=http://nginx.org/packages/centos/7/$basearch/
gpgcheck=0
enabled=1
2) 安装Nginx 并启动Nginx 加入开机自启
[root@nginx ~]
[root@nginx ~]
[root@nginx ~]
3) 使用第三方扩展源安装php7.1
[root@nginx ~]
[root@nginx ~]
[root@nginx ~]

[root@nginx ~]
3) 配置php-fpm 启动php-fpm 并加入开机自启
[root@nginx ~]
[root@nginx ~]

[root@nginx ~]
[root@nginx ~]
4) 使用MySQL官方仓库安装MySQL5.7数据库
[root@nginx ~]
[root@nginx ~]
5) 启动数据库, 并加入开机自动
[root@nginx ~]
[root@nginx ~]
6) mysql5.7默认配置了密码, 需要提取temporary password中的密码, 登陆对应数据库
[root@nginx ~]# grep "temporary password" /var/log/mysqld.log
[root@nginx ~]# mysql -uroot -p$(awk '/temporary password/{print $NF}' /var/log/mysqld.log)
7) 重新初始化 MySQL 的密码
mysql> ALTER USER 'root'@'localhost' IDENTIFIED BY 'Bgx123.com';
2.配置LNMP架构
1) 为了验证Nginx能否正常解析php动态请求, 需配置如下locaiton
[root@nginx ~]
server {
        server_name www.bgx.com;
        listen 80;
        root /code;
        index index.php index.html;

        location ~ \.php$ {
            root /code;
            fastcgi_pass   127.0.0.1:9000;
            fastcgi_index  index.php;
            fastcgi_param  SCRIPT_FILENAME  $document_root$fastcgi_script_name;
            include        fastcgi_params;
        }
}
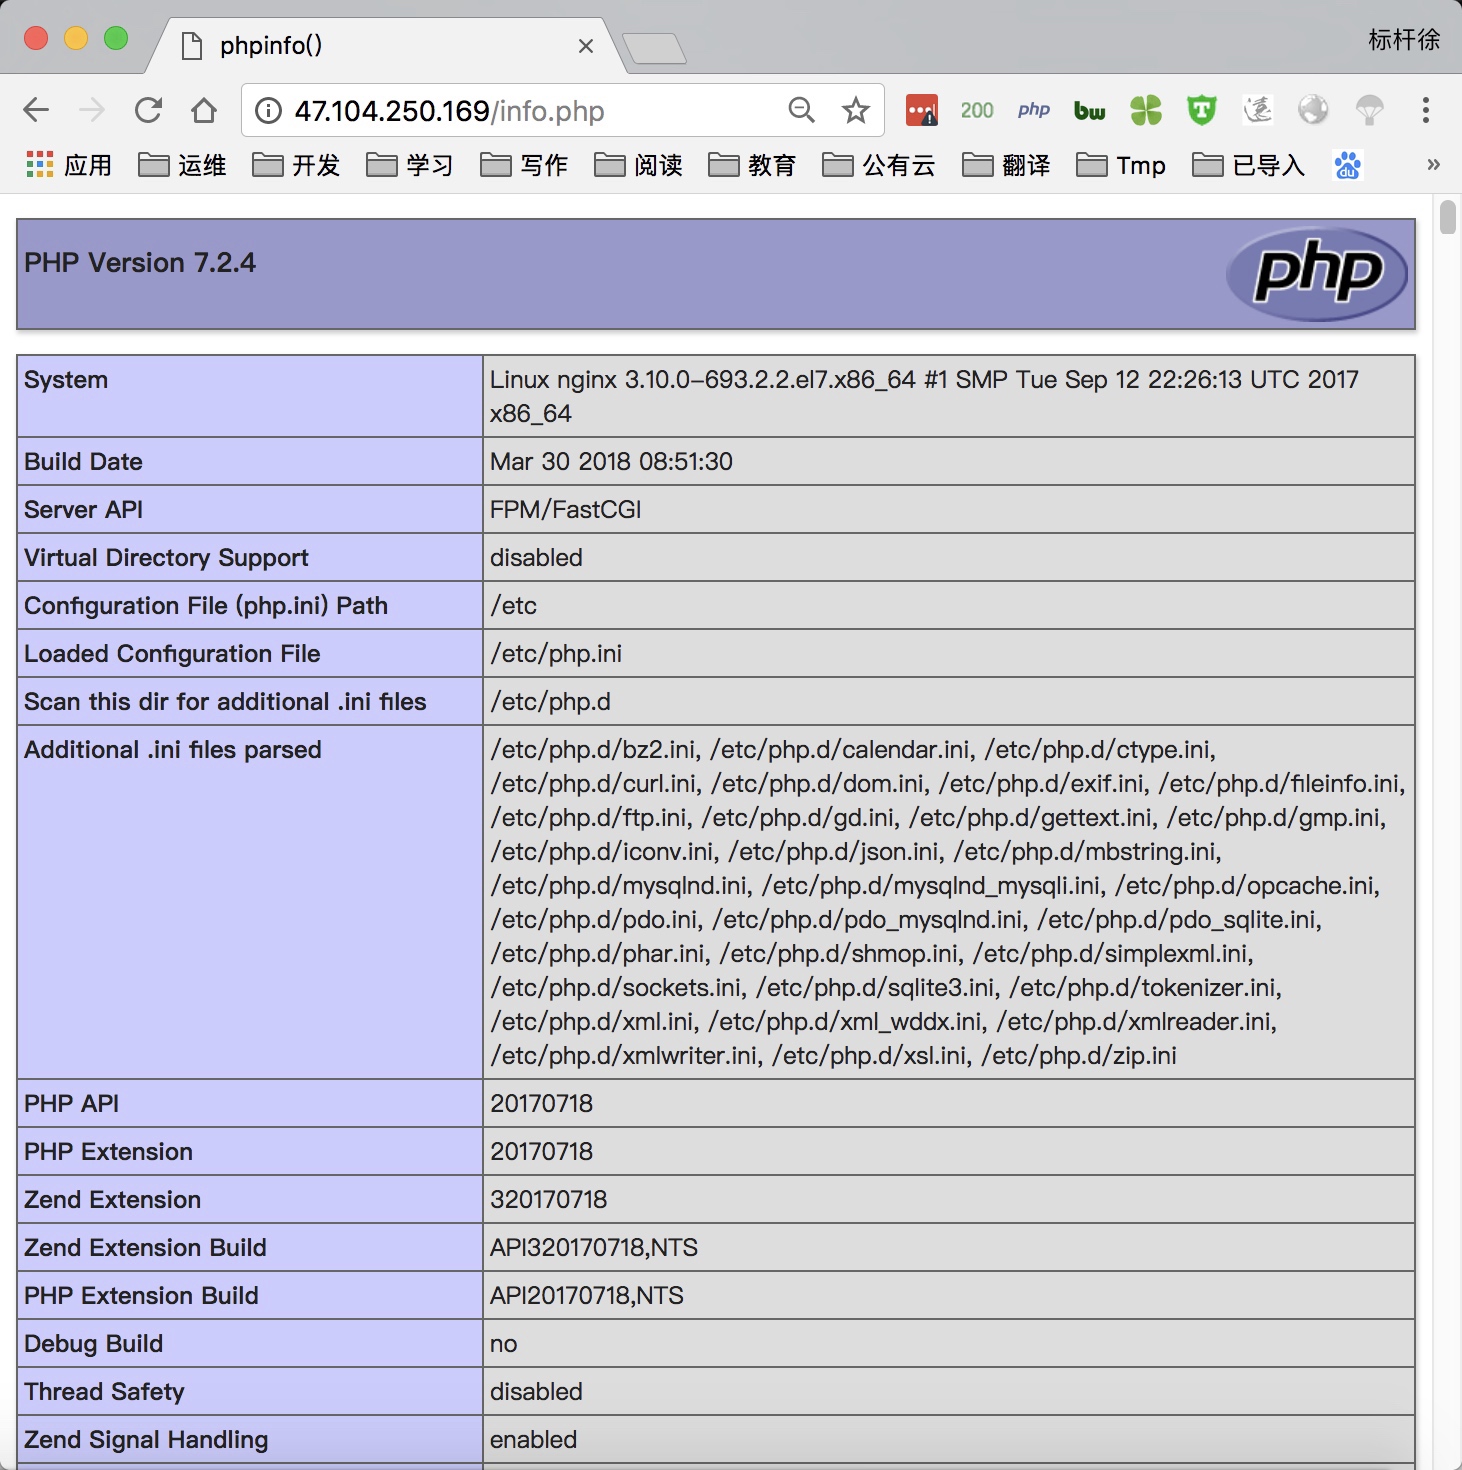
2) 新增.php后缀的文件名, 使用phpinfo函数测试php能否正常解析
[root@nginx ~]
<?php
        phpinfo();
?>
3) 验证php是否能正常连接mysql数据库服务
[root@nginx ~]# cat /code/mysqli.php
       <?php
        $servername = "localhost";
        $username = "root";
        $password = "Bgx123.com";


        $conn = mysqli_connect($servername, $username, $password);


        if (!$conn) {
            die("Connection failed: " . mysqli_connect_error());
        }
        echo "php连接MySQL数据库成功";
        ?>
4) 通过浏览器访问info.php文件, 如能出现php相关的信息, 则表示nginx与php能正常工作
5) 访问mysqli.php验证php-mysqli模块是否正常工作

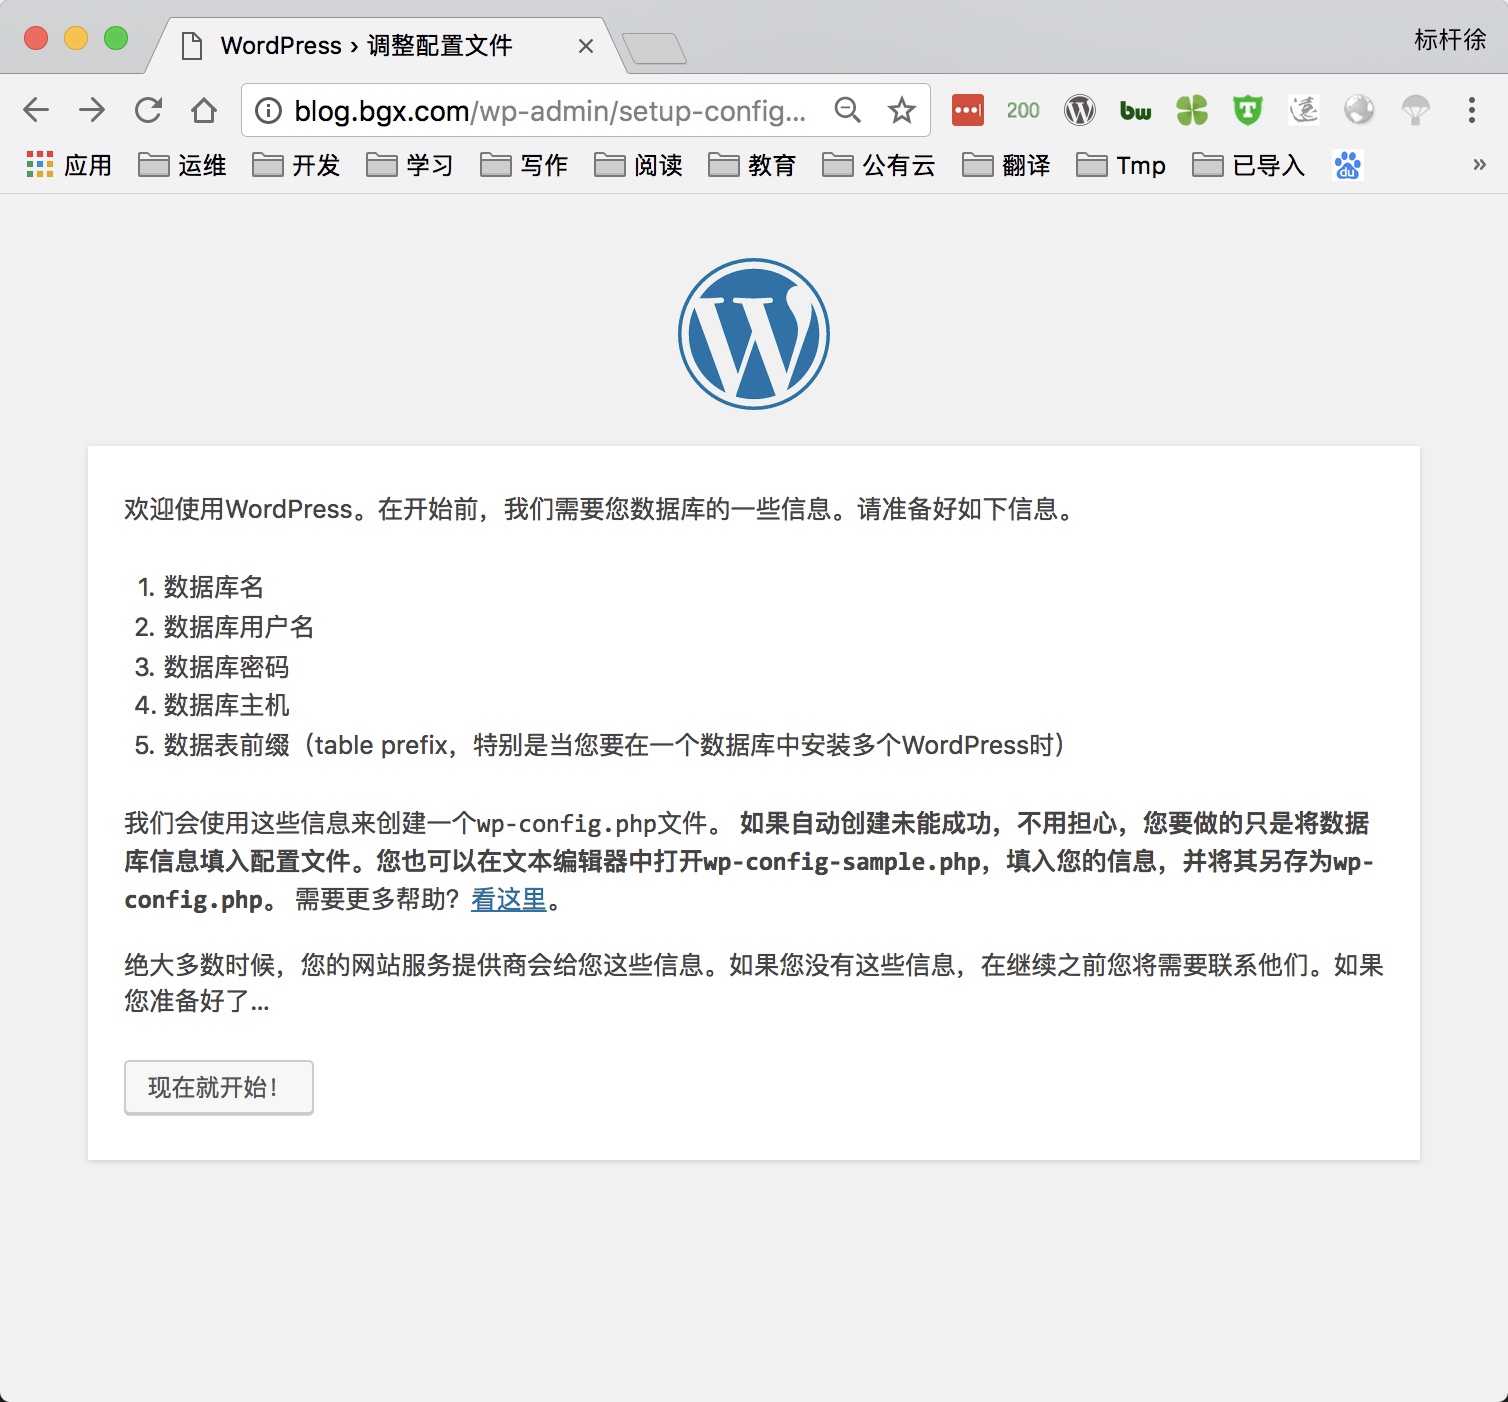
4.部署博客产品Wordpress
1) 配置Nginx虚拟主机站点,域名为blog.bgx.com
[root@nginx ~]
server {
    listen 80;
    server_name blog.bgx.com;
    root /code/wordpress;
    index index.php index.html;

    location ~ \.php$ {
        root /code/wordpress;
        fastcgi_pass   127.0.0.1:9000;
        fastcgi_index  index.php;
        fastcgi_param  SCRIPT_FILENAME $document_root$fastcgi_script_name;
        include fastcgi_params;
    }
}
2) 重启nginx服务
[root@nginx ~]
3) 获取wordpress产品,解压并部署wordress
[root@nginx ~]
[root@nginx ~]
[root@nginx code]
[root@nginx ~]
[root@nginx ~]
4) 由于wordpress产品需要依赖数据库, 所以需要手动建立数据库
[root@nginx ~]
mysql> create database wordpress;
mysql> exit
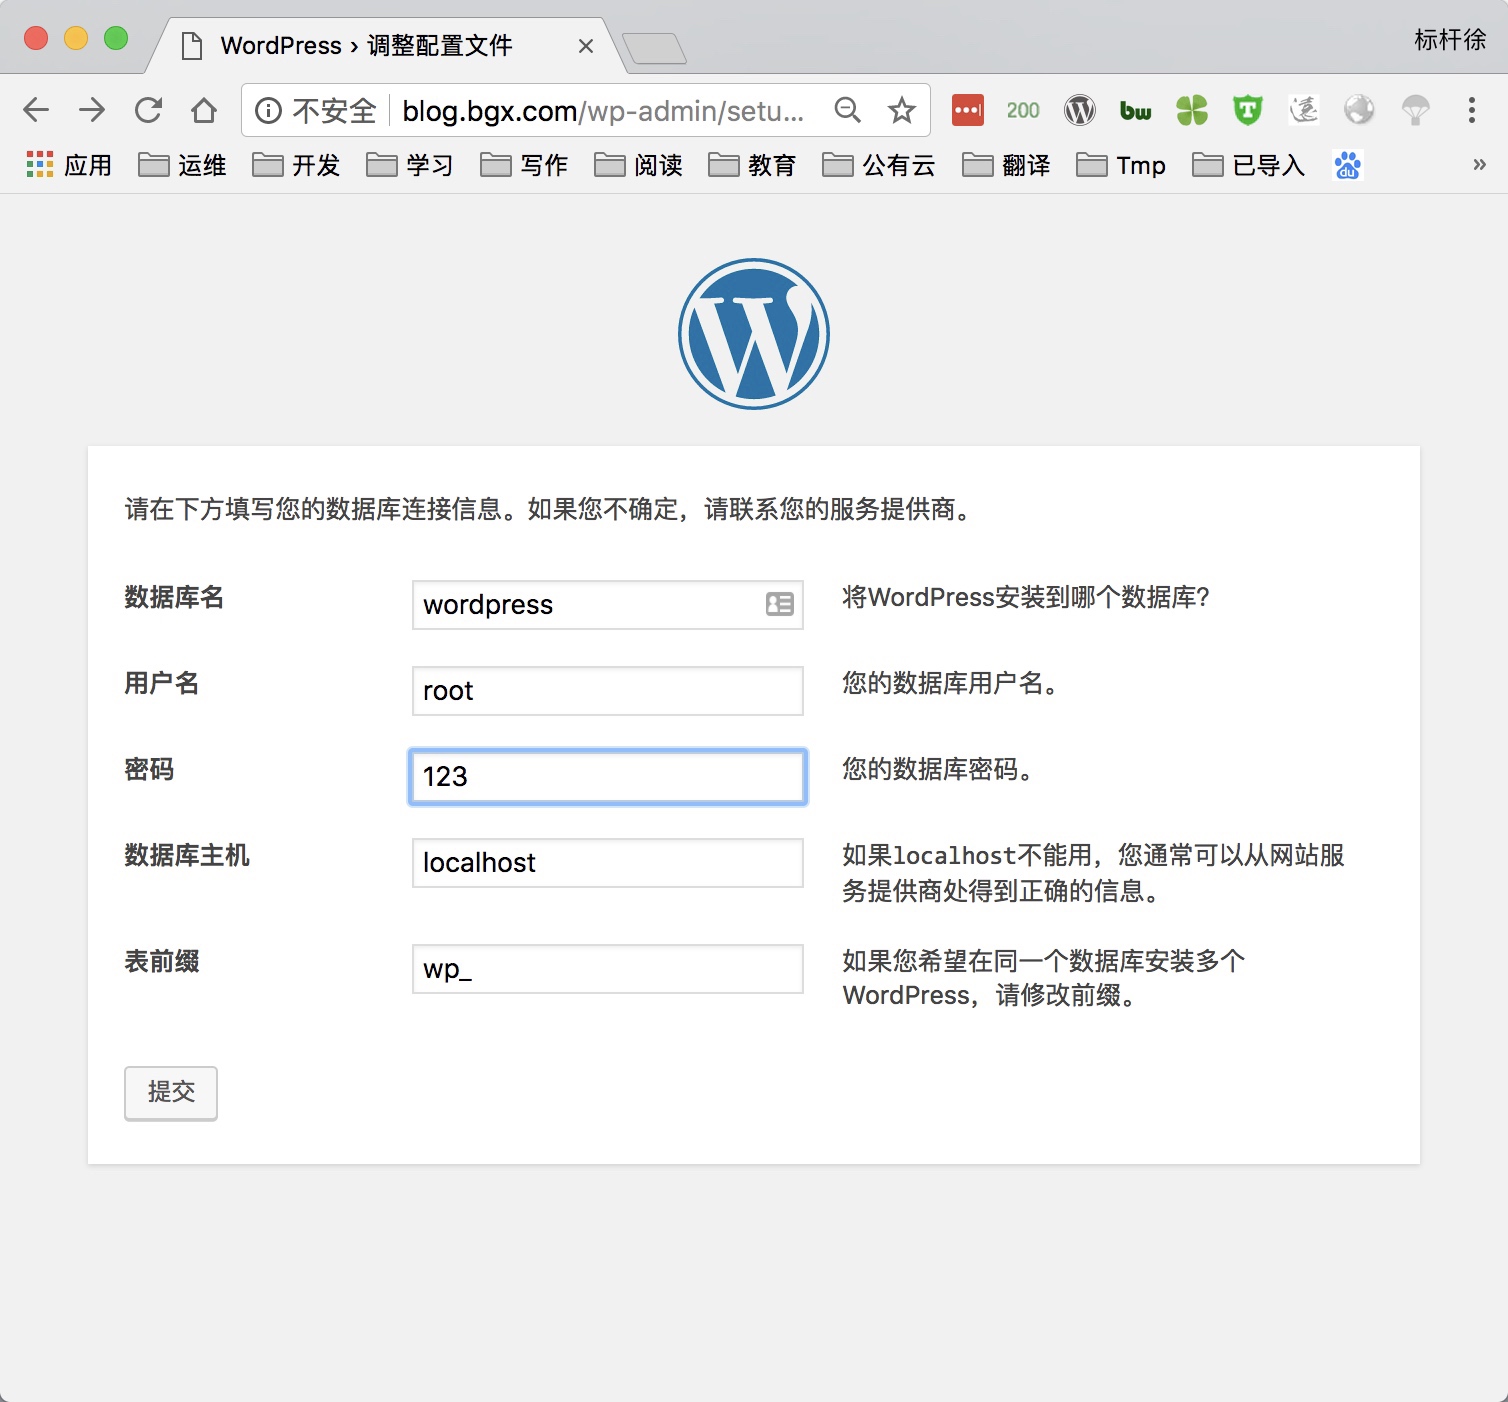
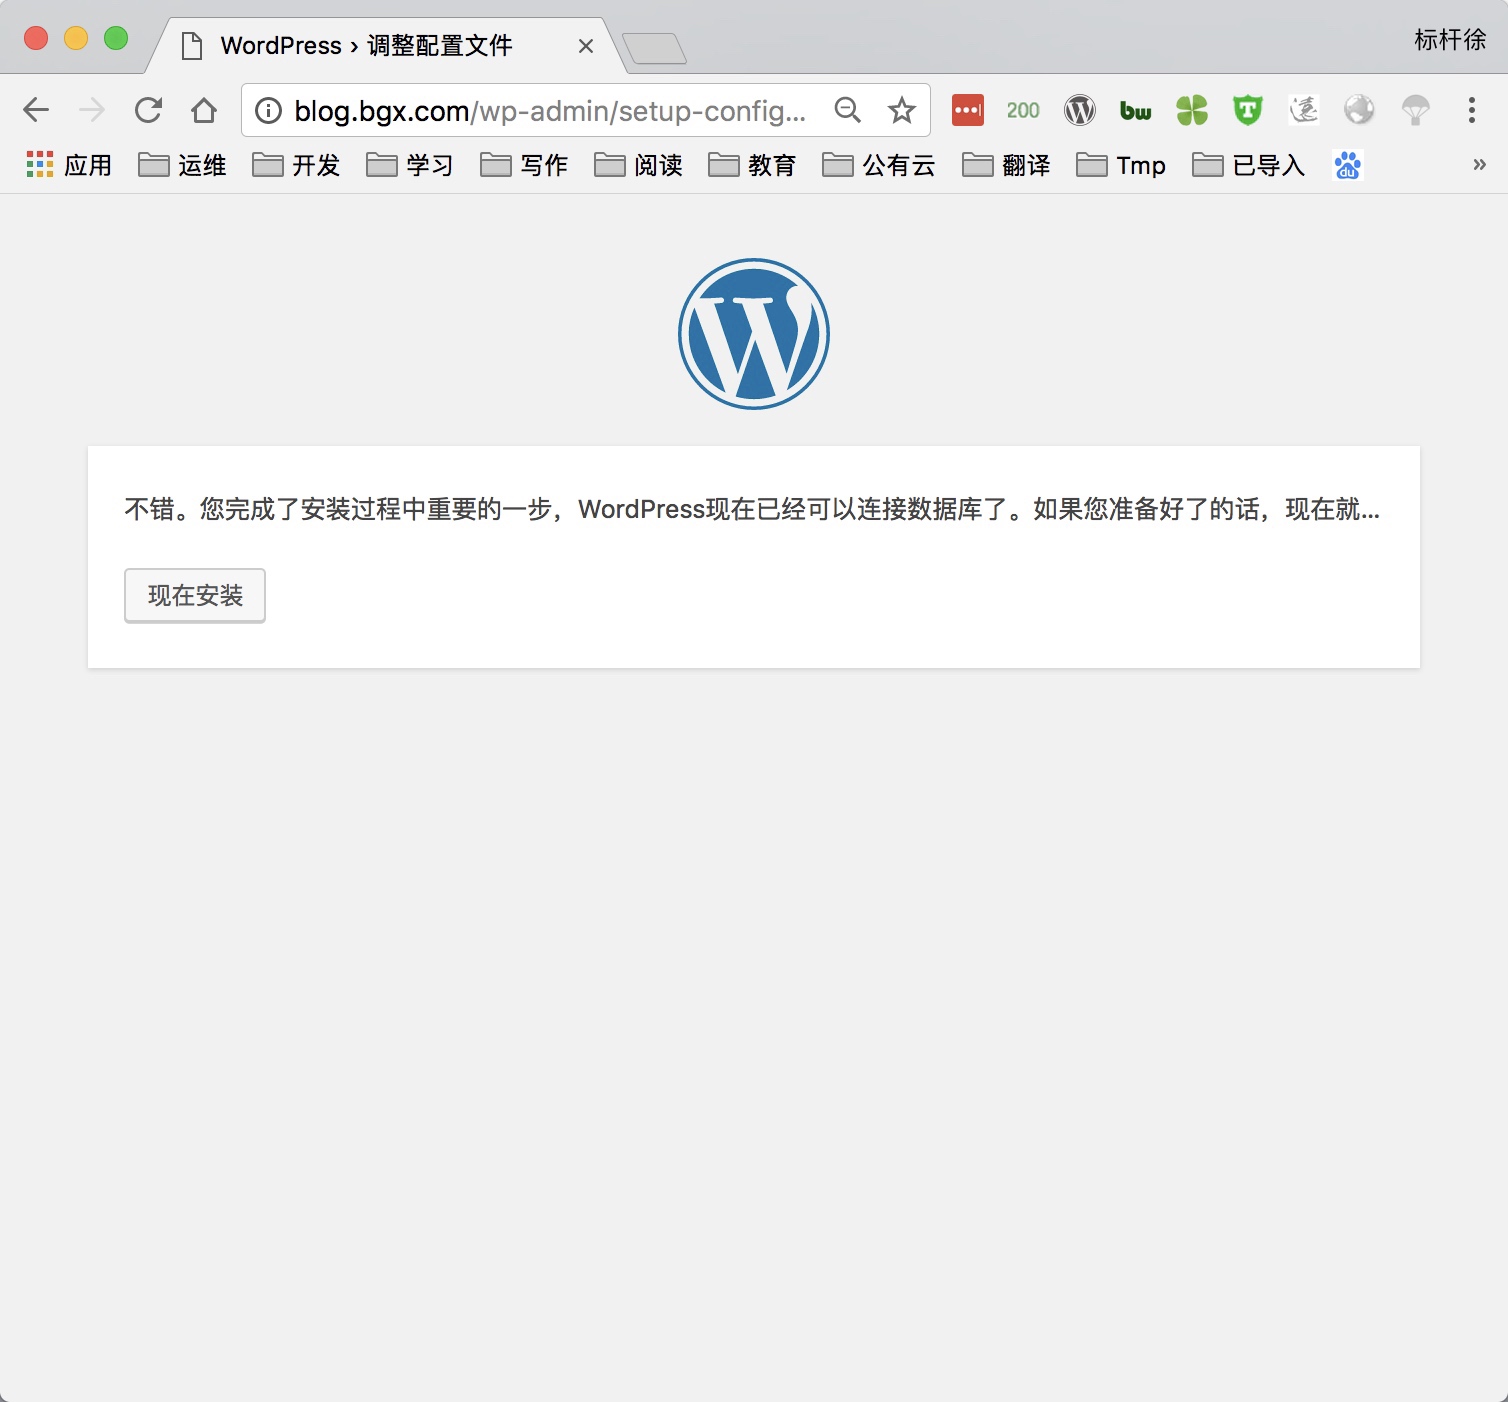
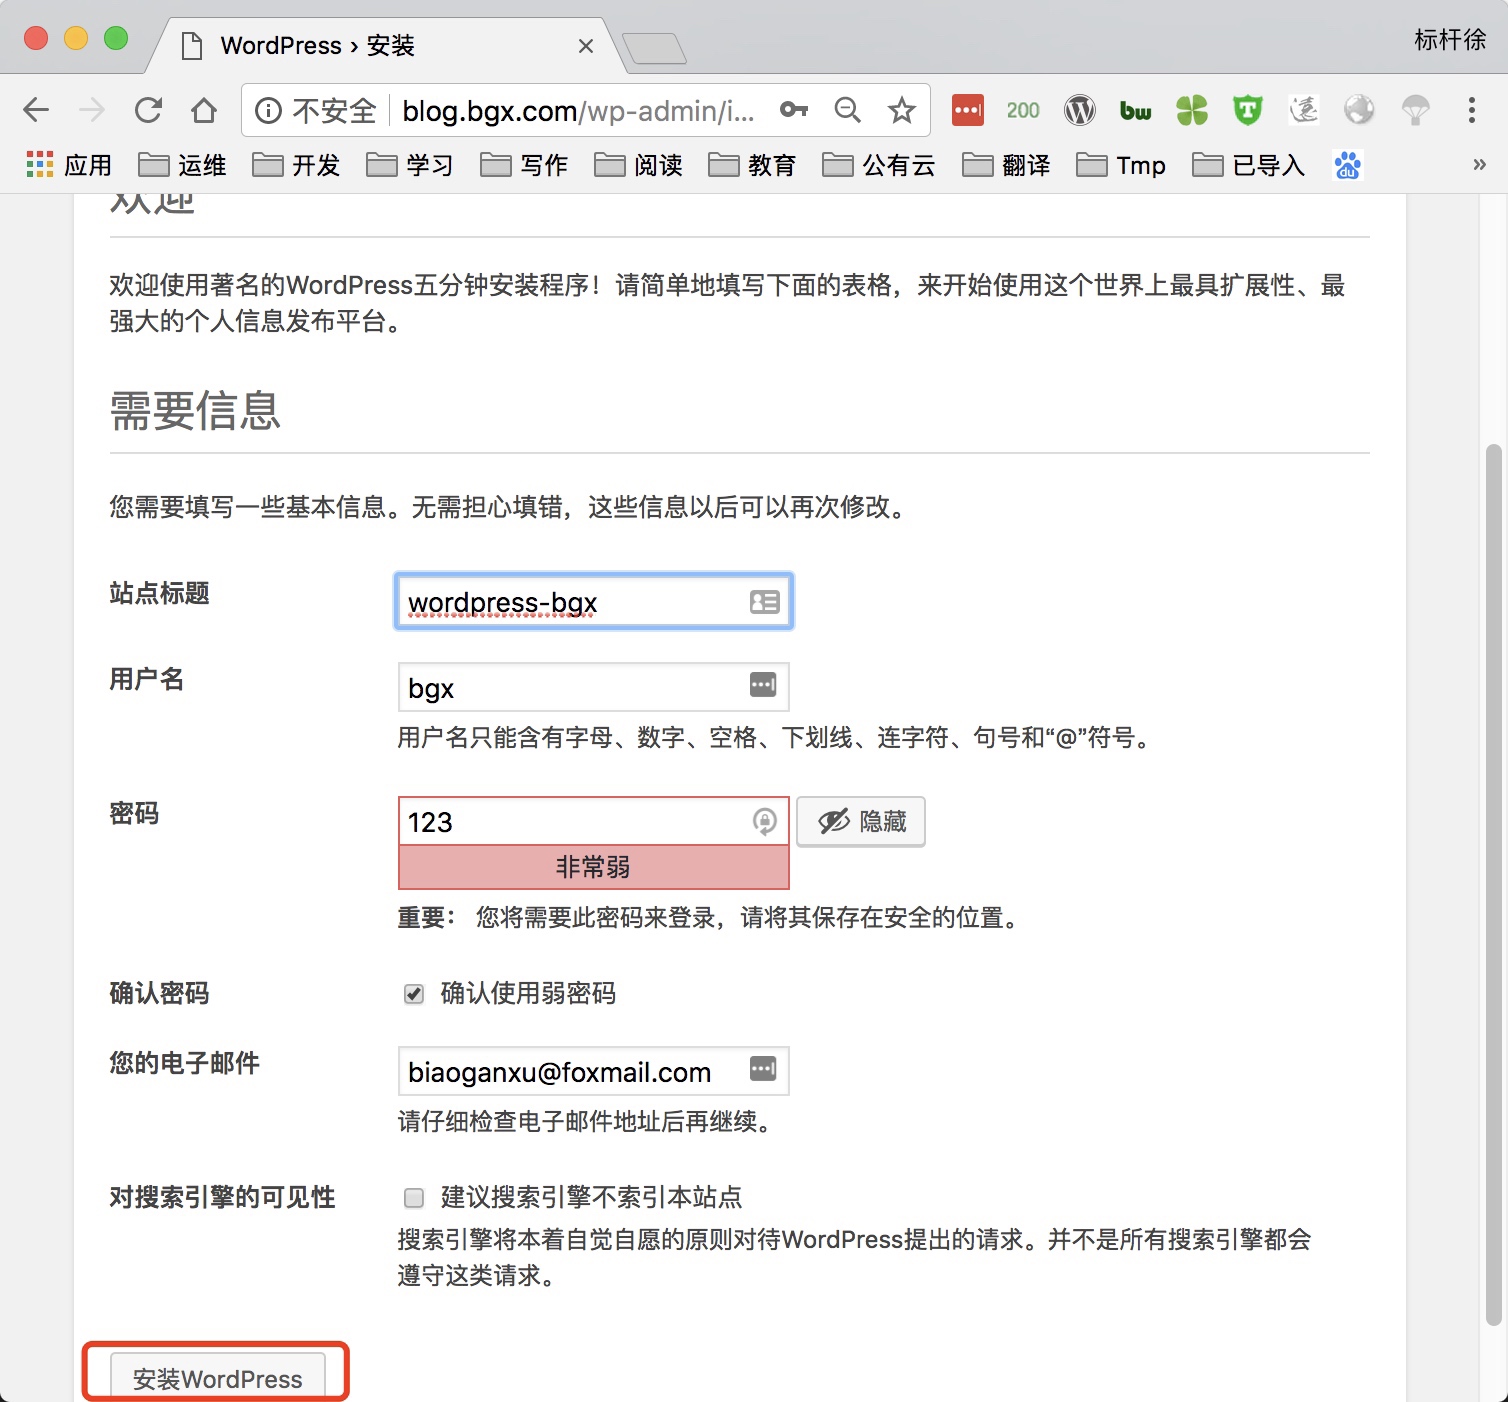
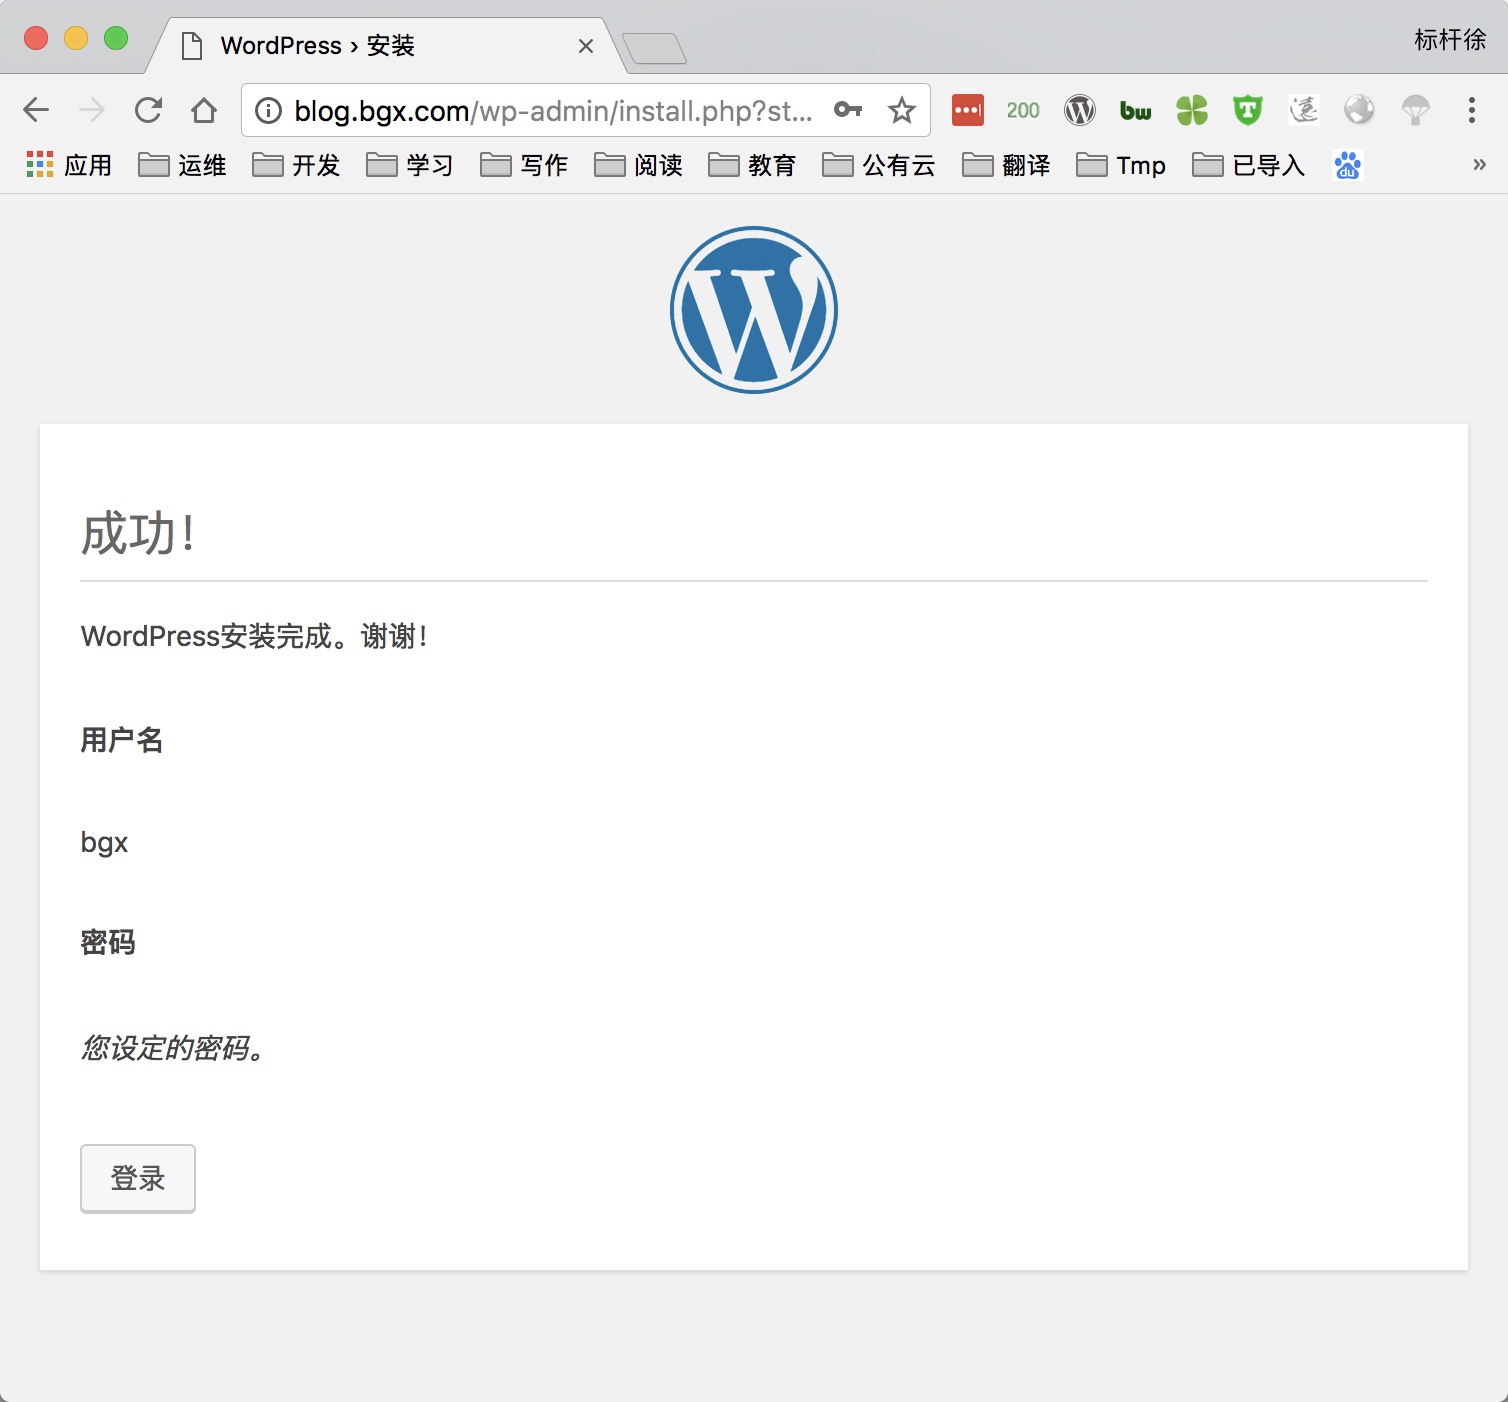
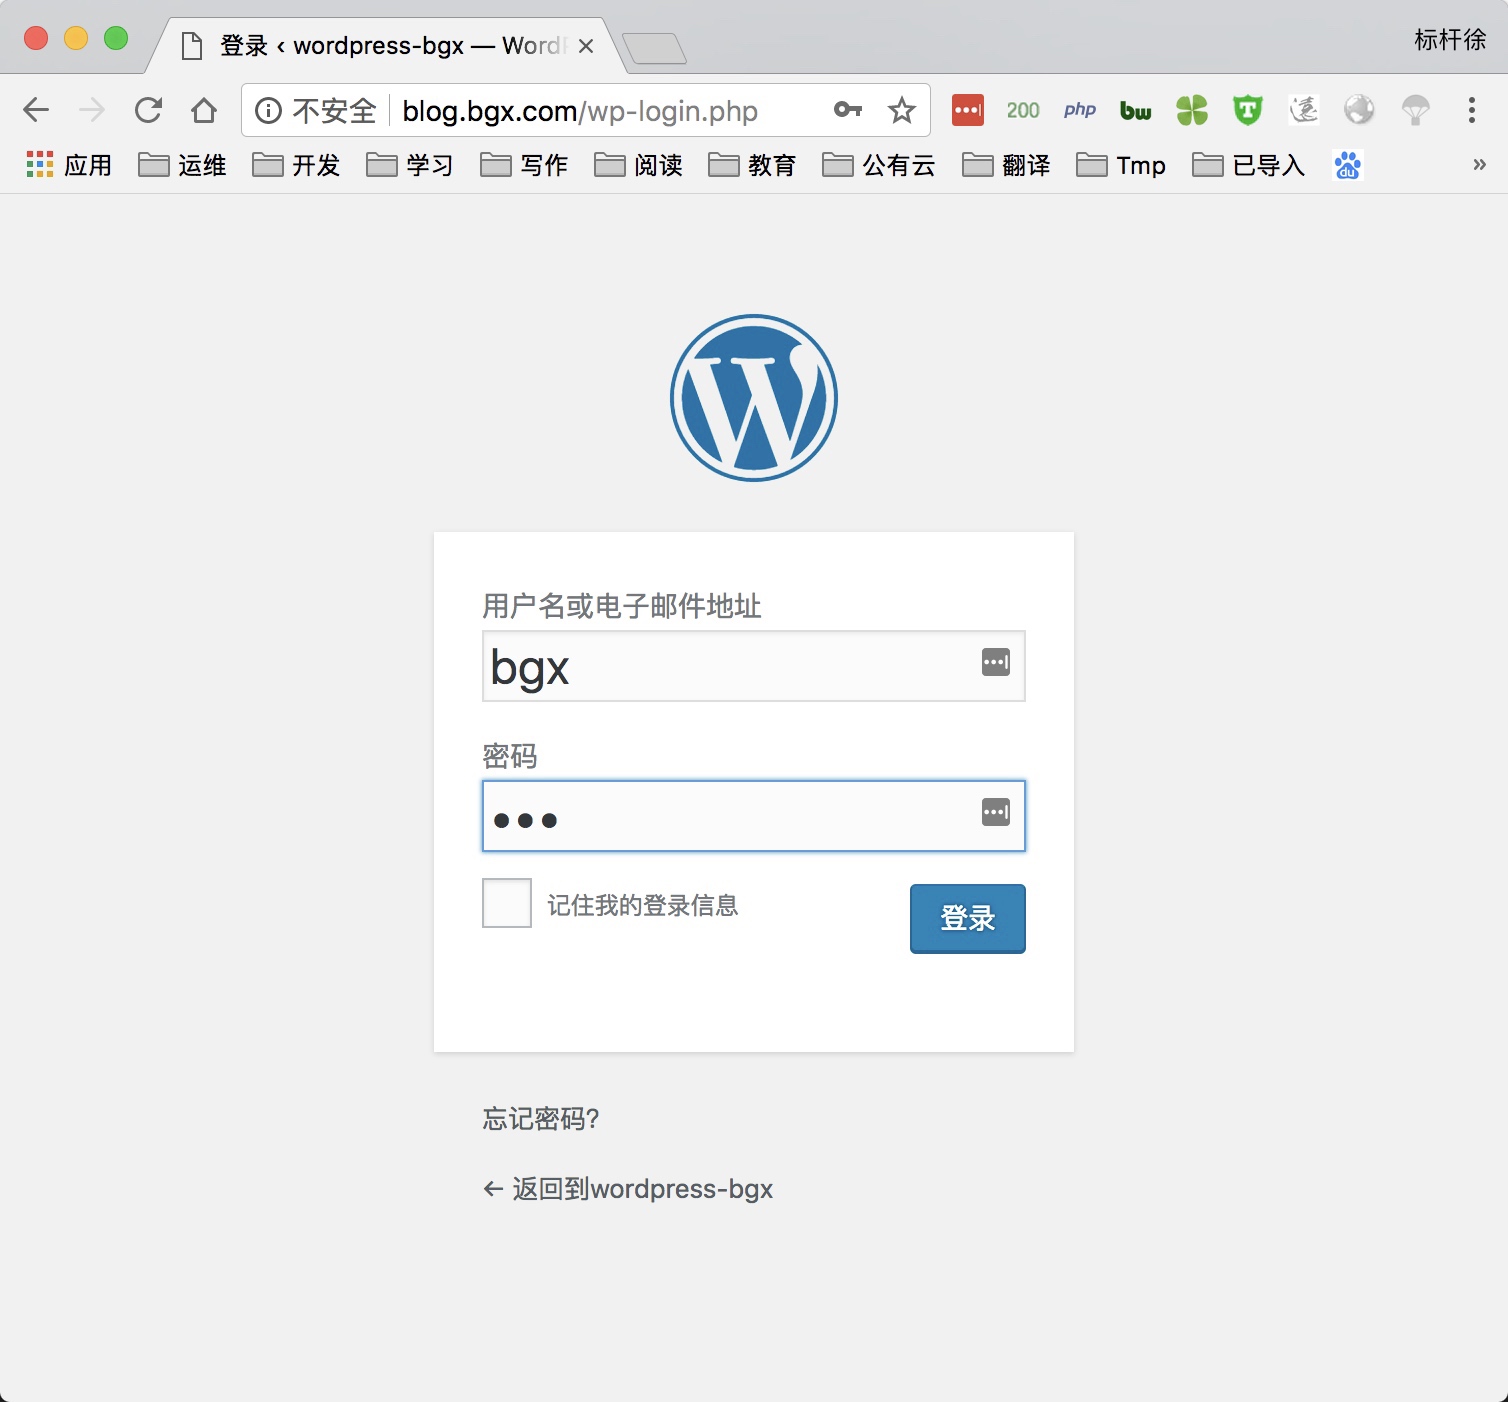
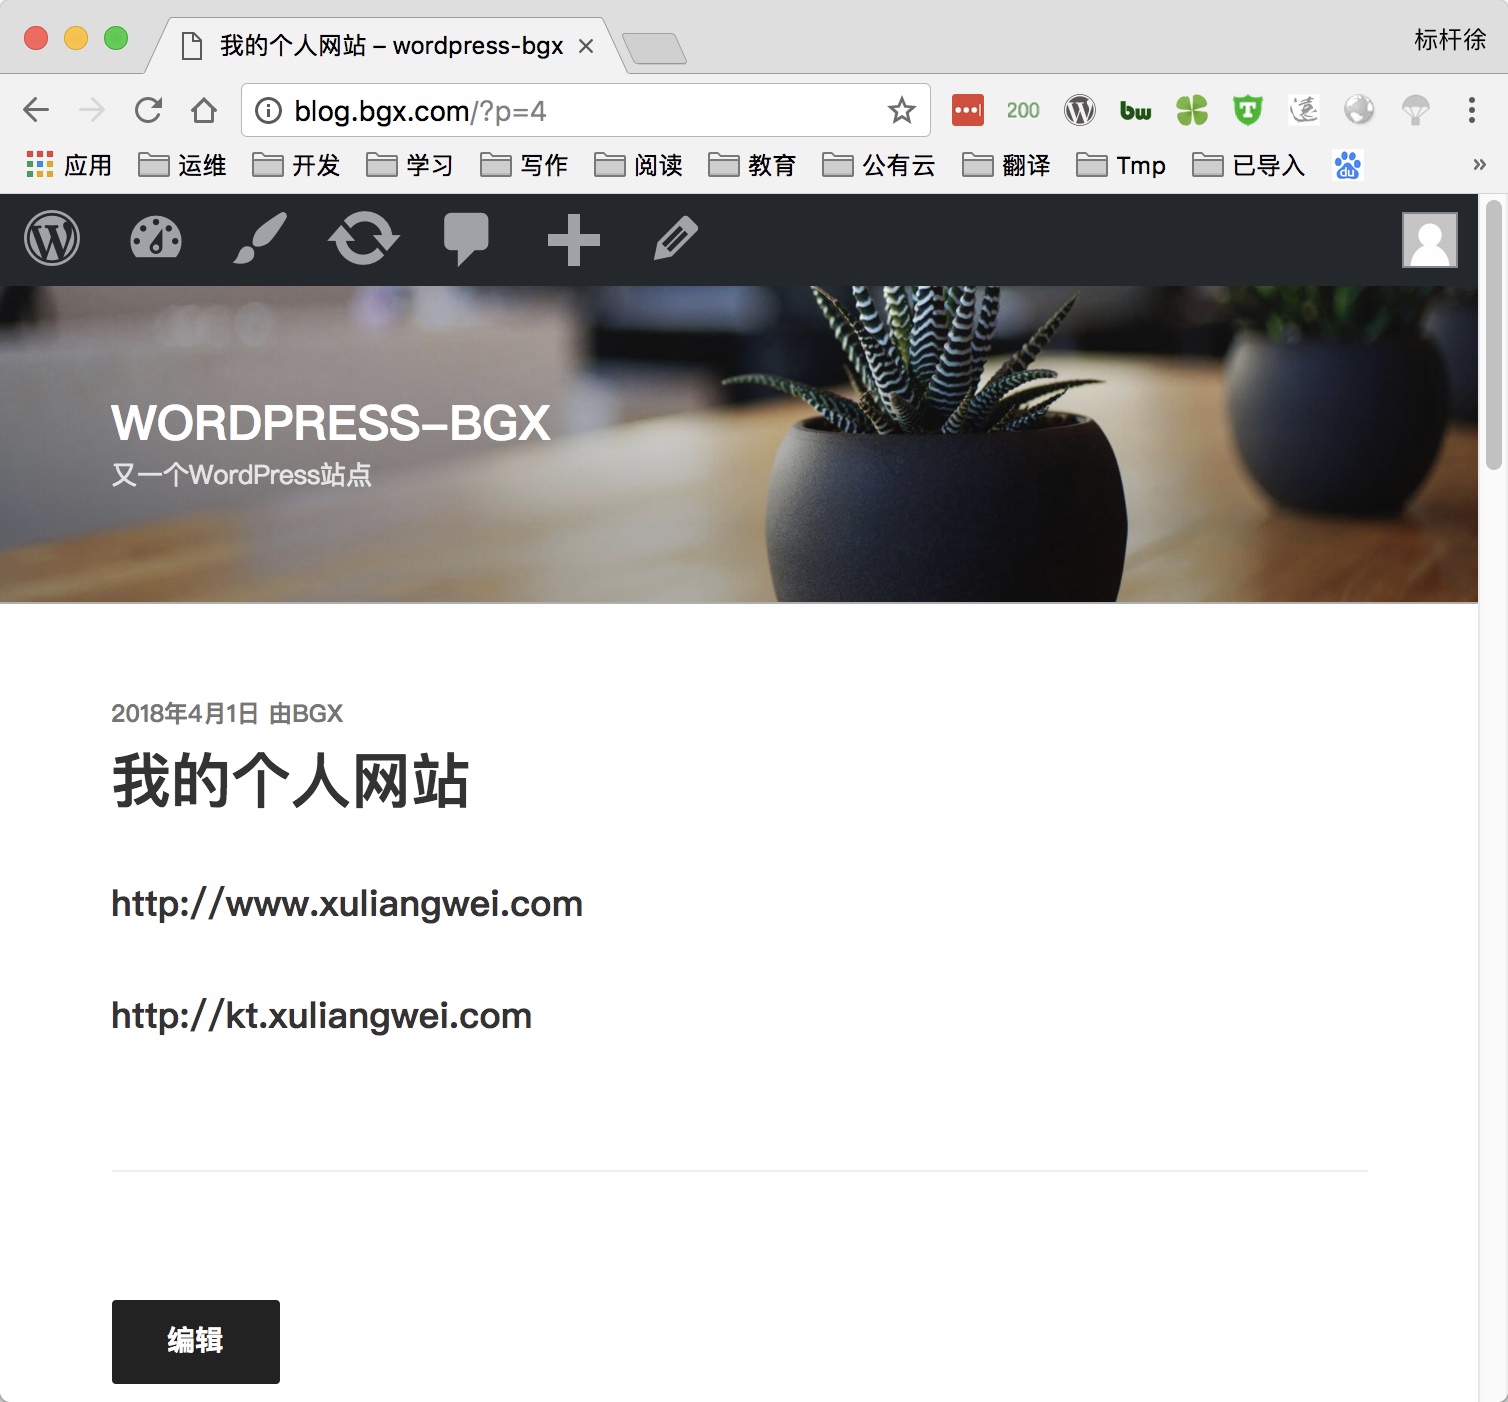
5) 通过浏览器访问wordpress, 并部署该产品
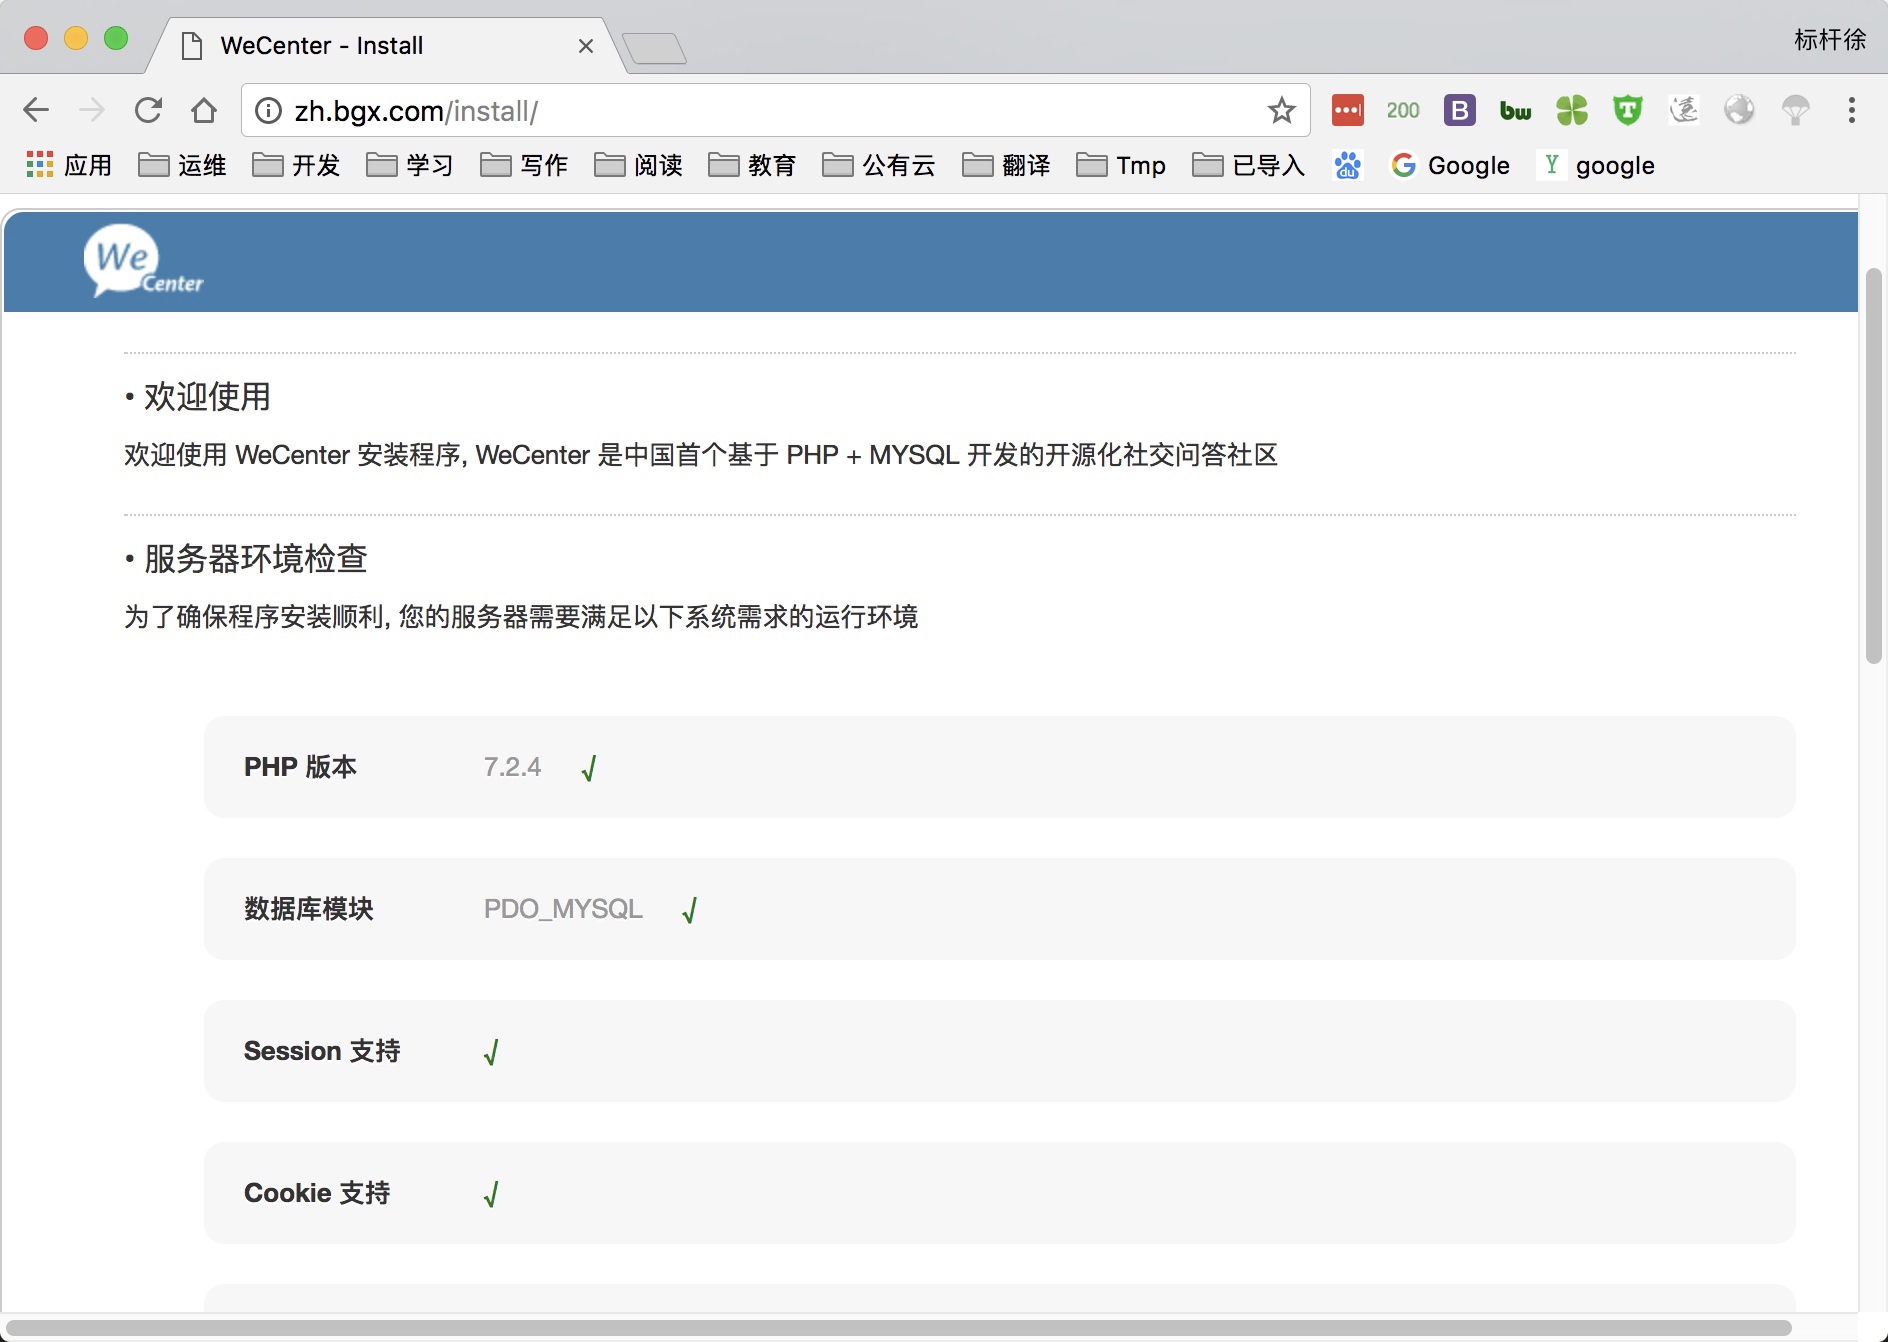
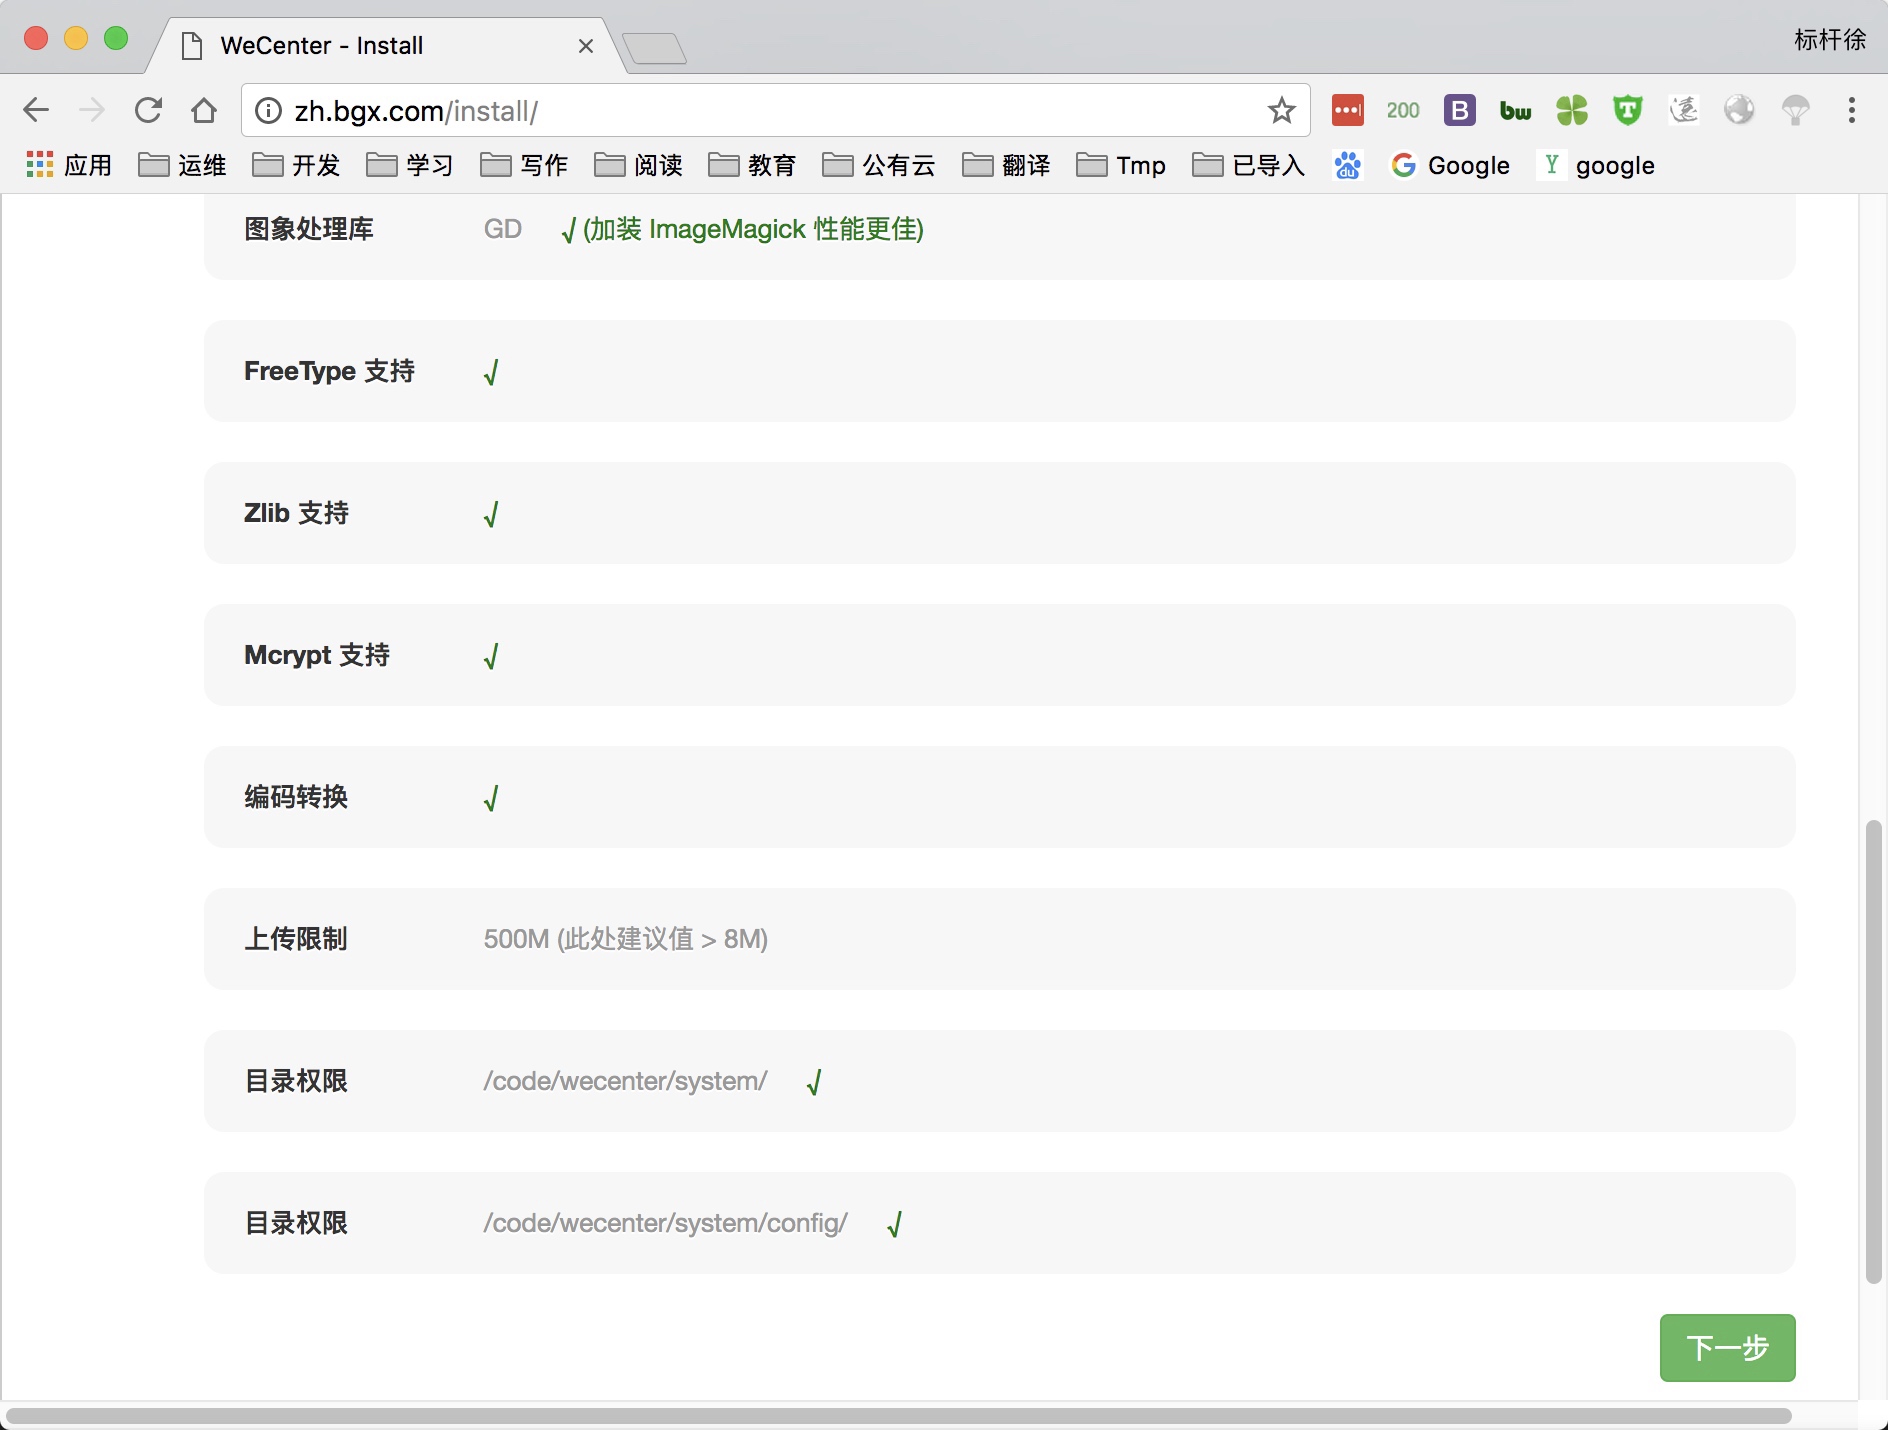
5.部署知乎产品Wecenter
1.配置Nginx虚拟主机站点,域名为zh.bgx.com
[root@http-server ~]
server {
    listen 80;
    server_name zh.bgx.com;
    root /code/zh;
    index index.php index.html;

        location ~ \.php$ {
        root /code/zh;
                fastcgi_pass   127.0.0.1:9000;
                fastcgi_index  index.php;
                fastcgi_param  SCRIPT_FILENAME  $document_root$fastcgi_script_name;
                include        fastcgi_params;
        }
}


[root@http-server ~]
2.下载Wecenter产品,部署Wecenter并授权
[root@web02 ~]
[root@web02 ~]
[root@web02 ~]
[root@web02 ~]
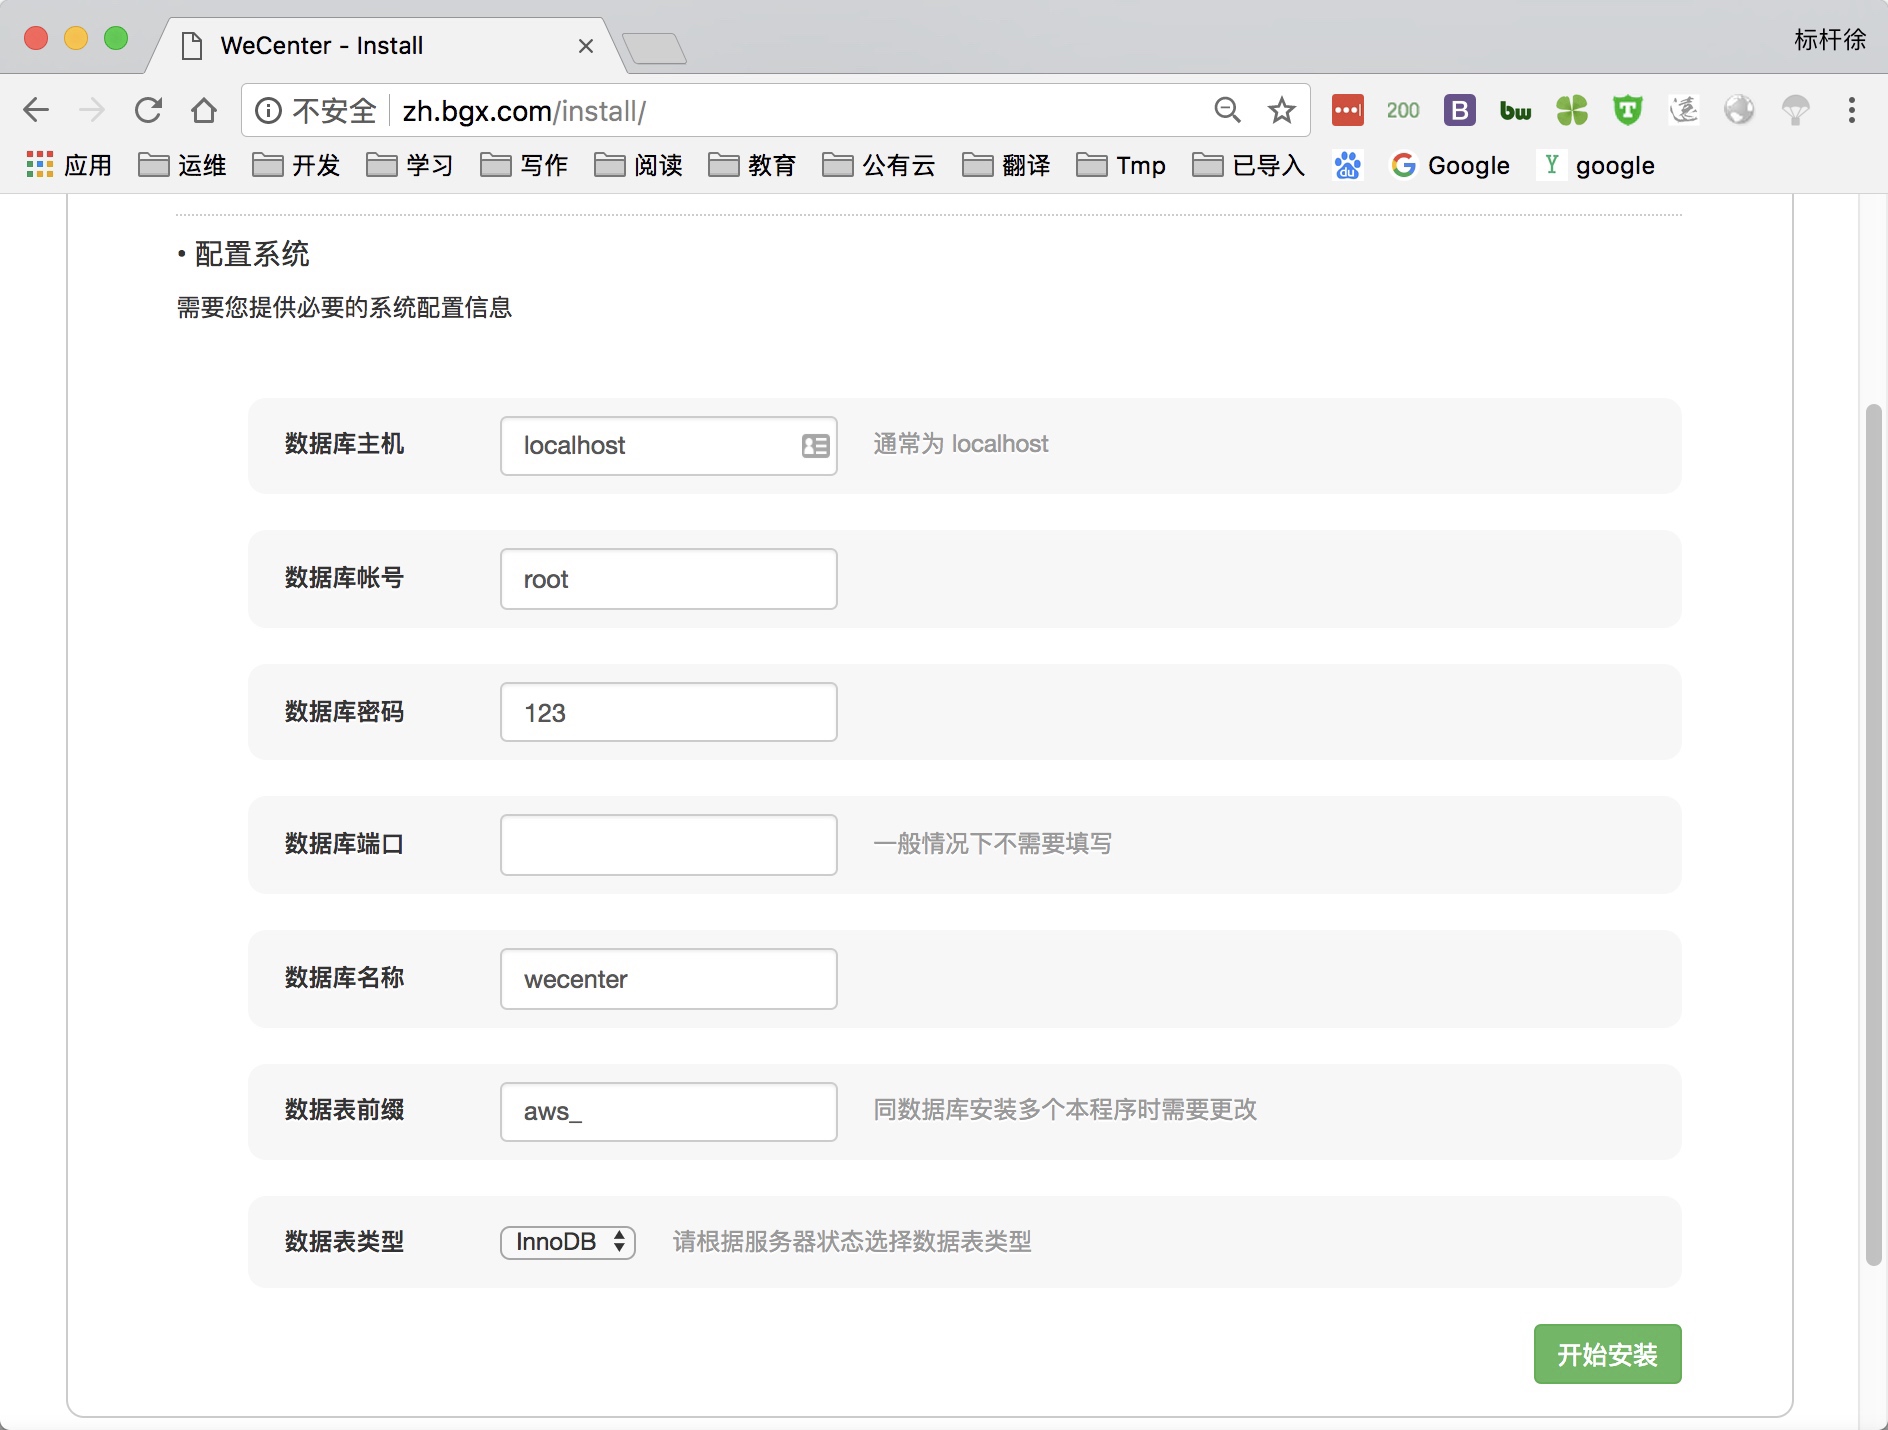
3.由于wecenter产品需要依赖数据库, 所以需要手动建立数据库
[root@http-server ~]


MariaDB [(none)]> create database zh;
MariaDB [(none)]> exit
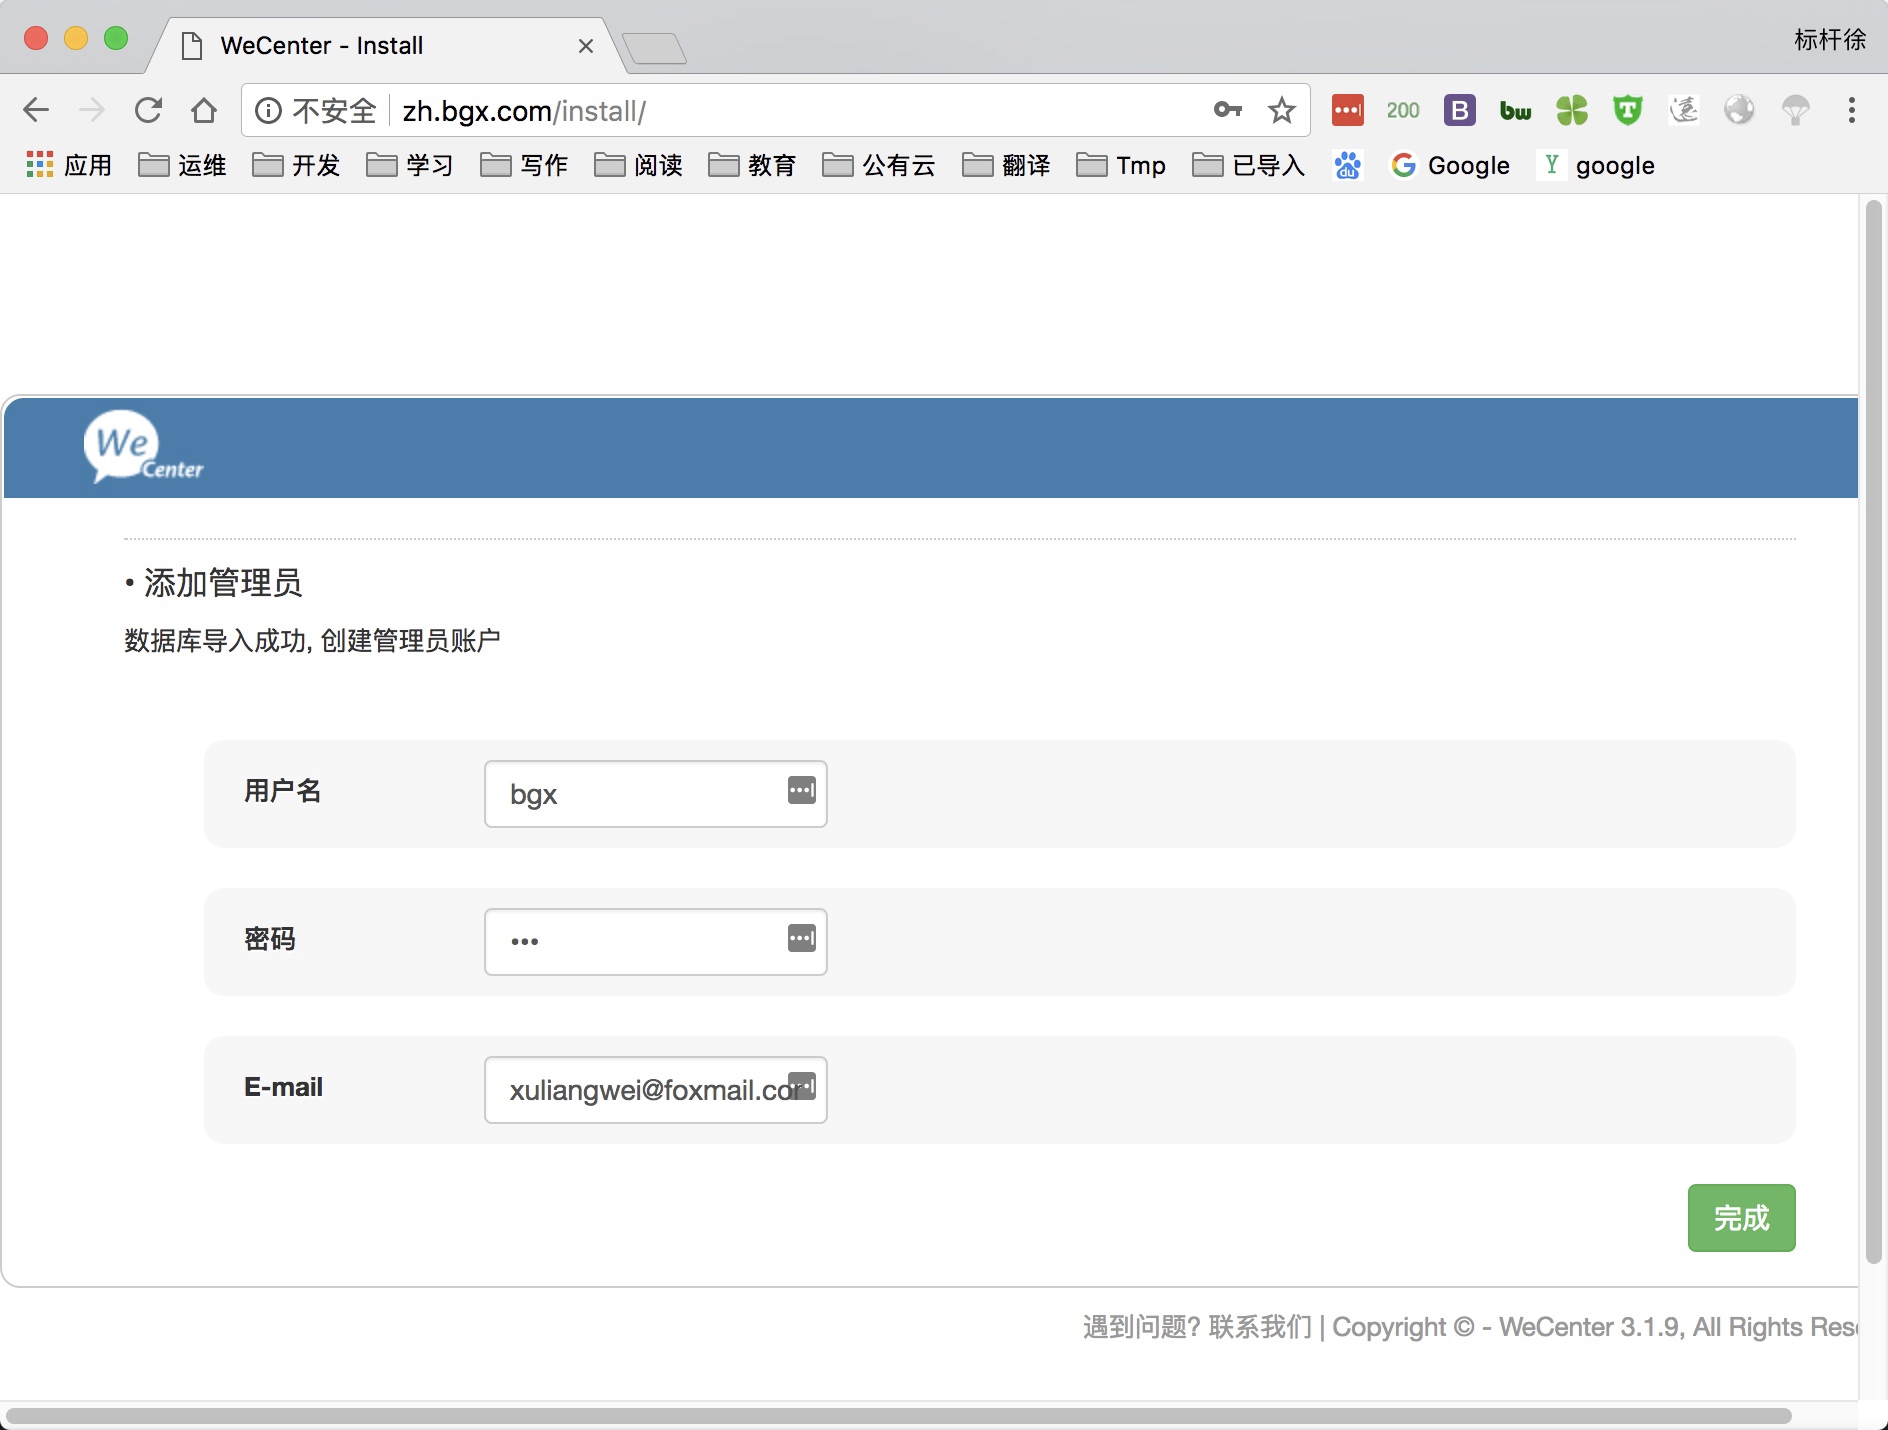
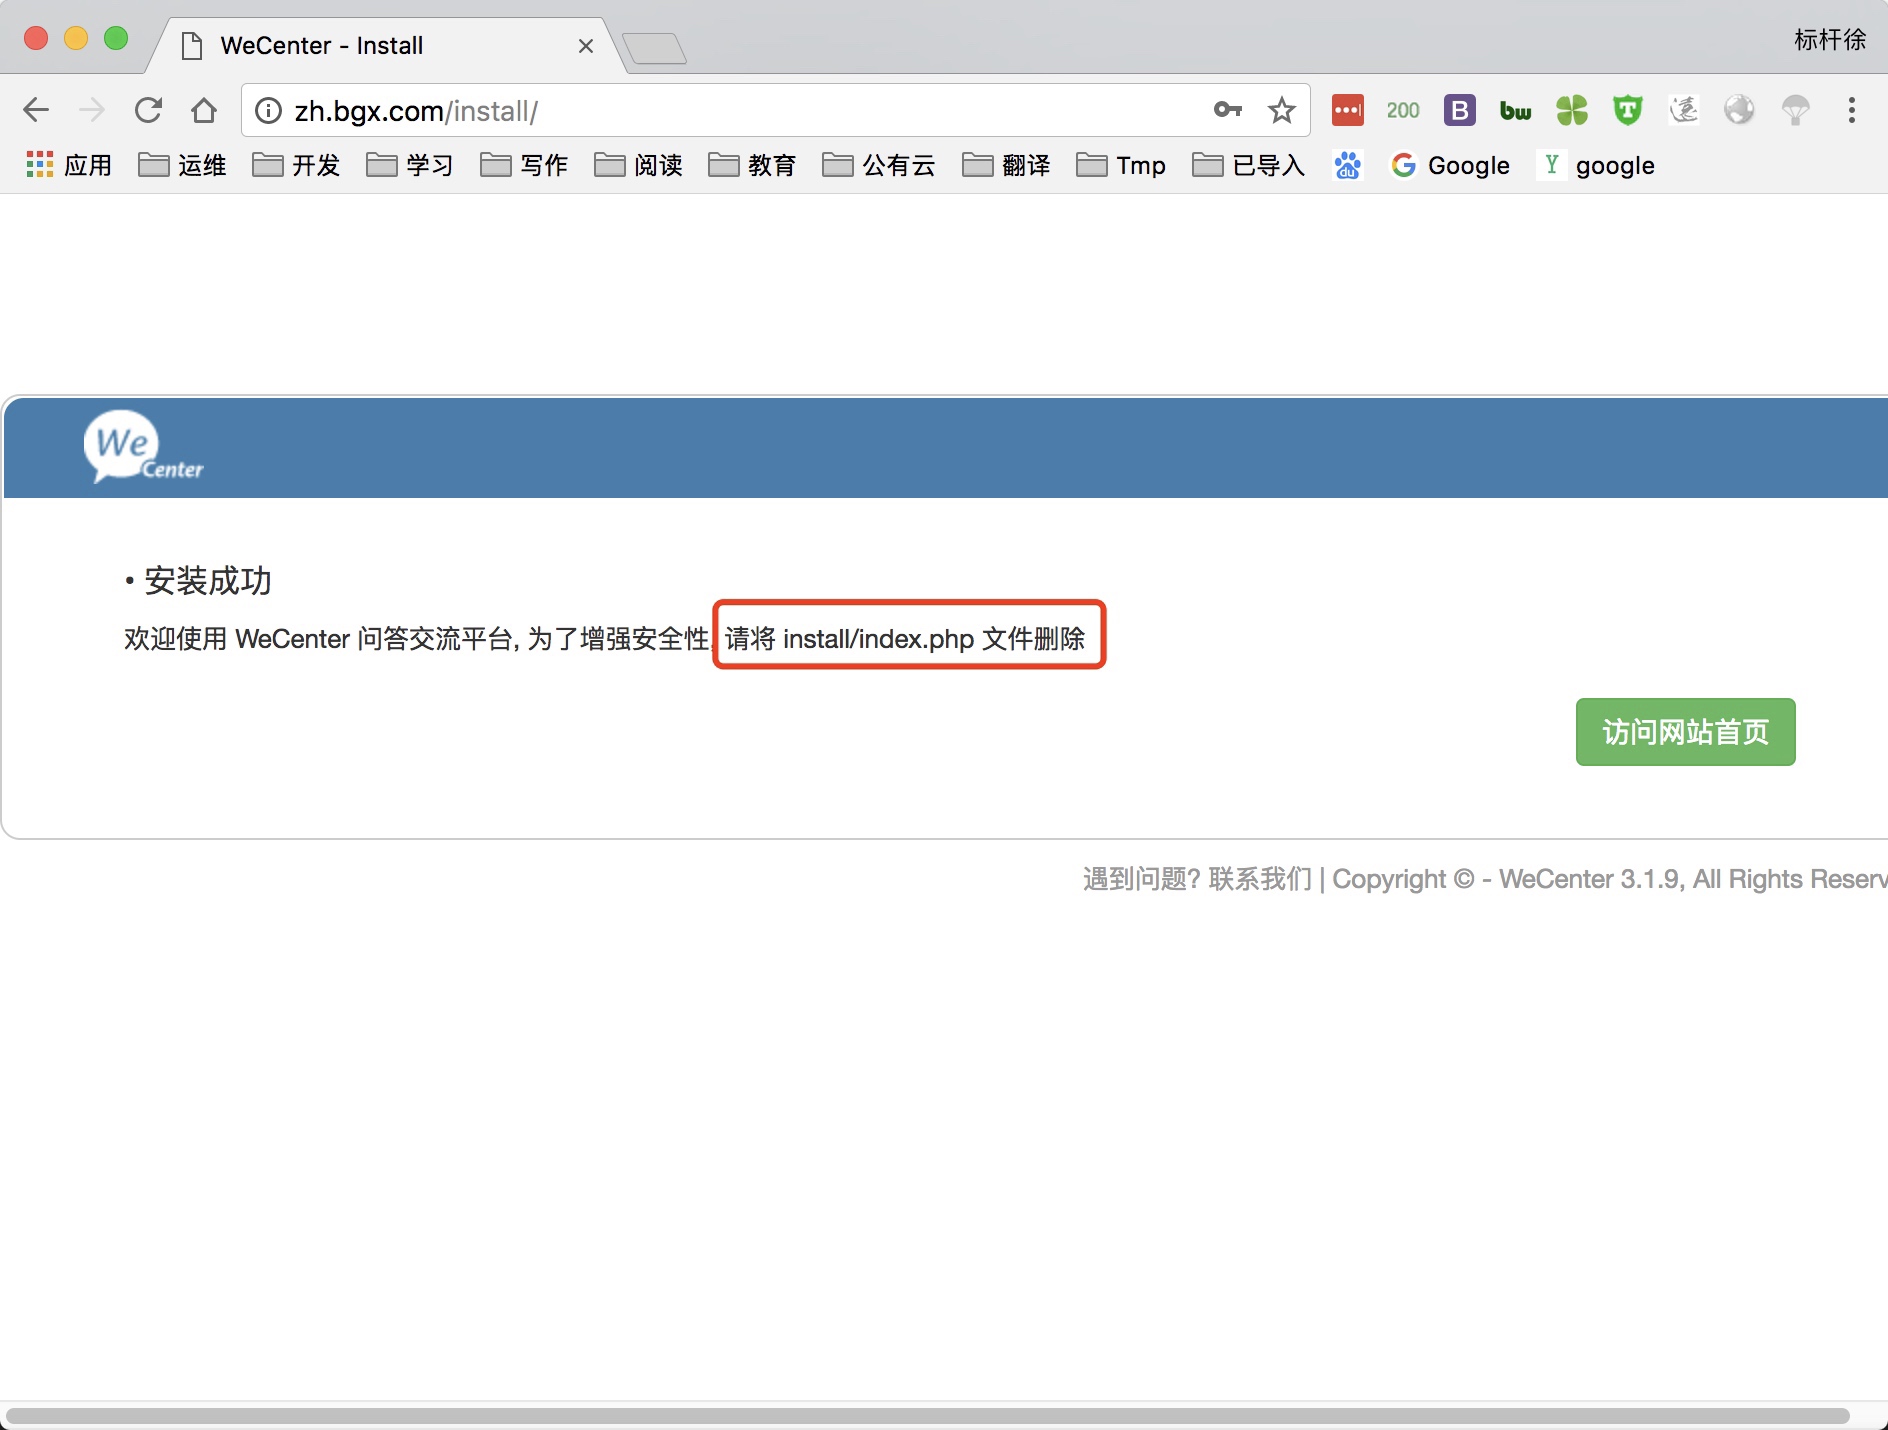
3.通过浏览器访问网站
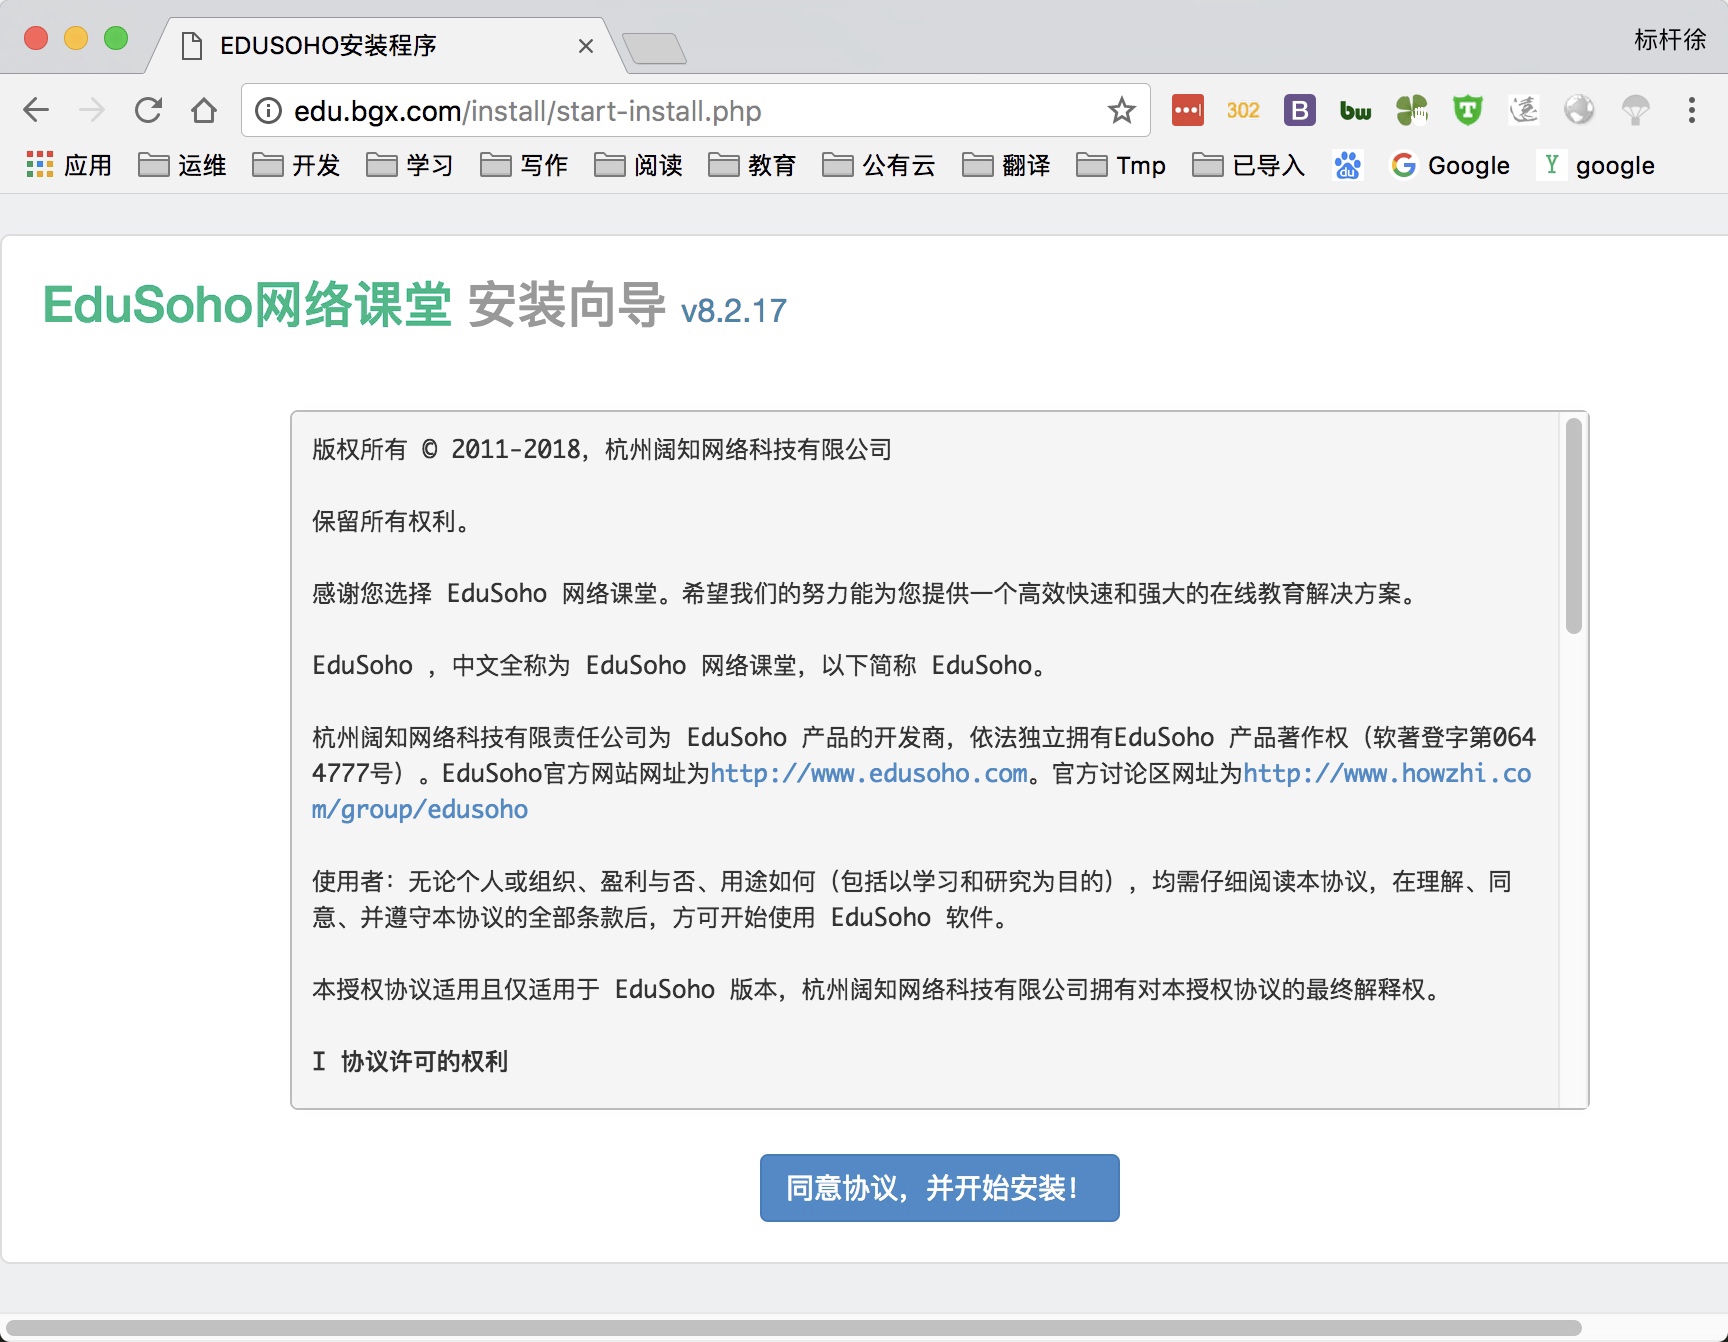
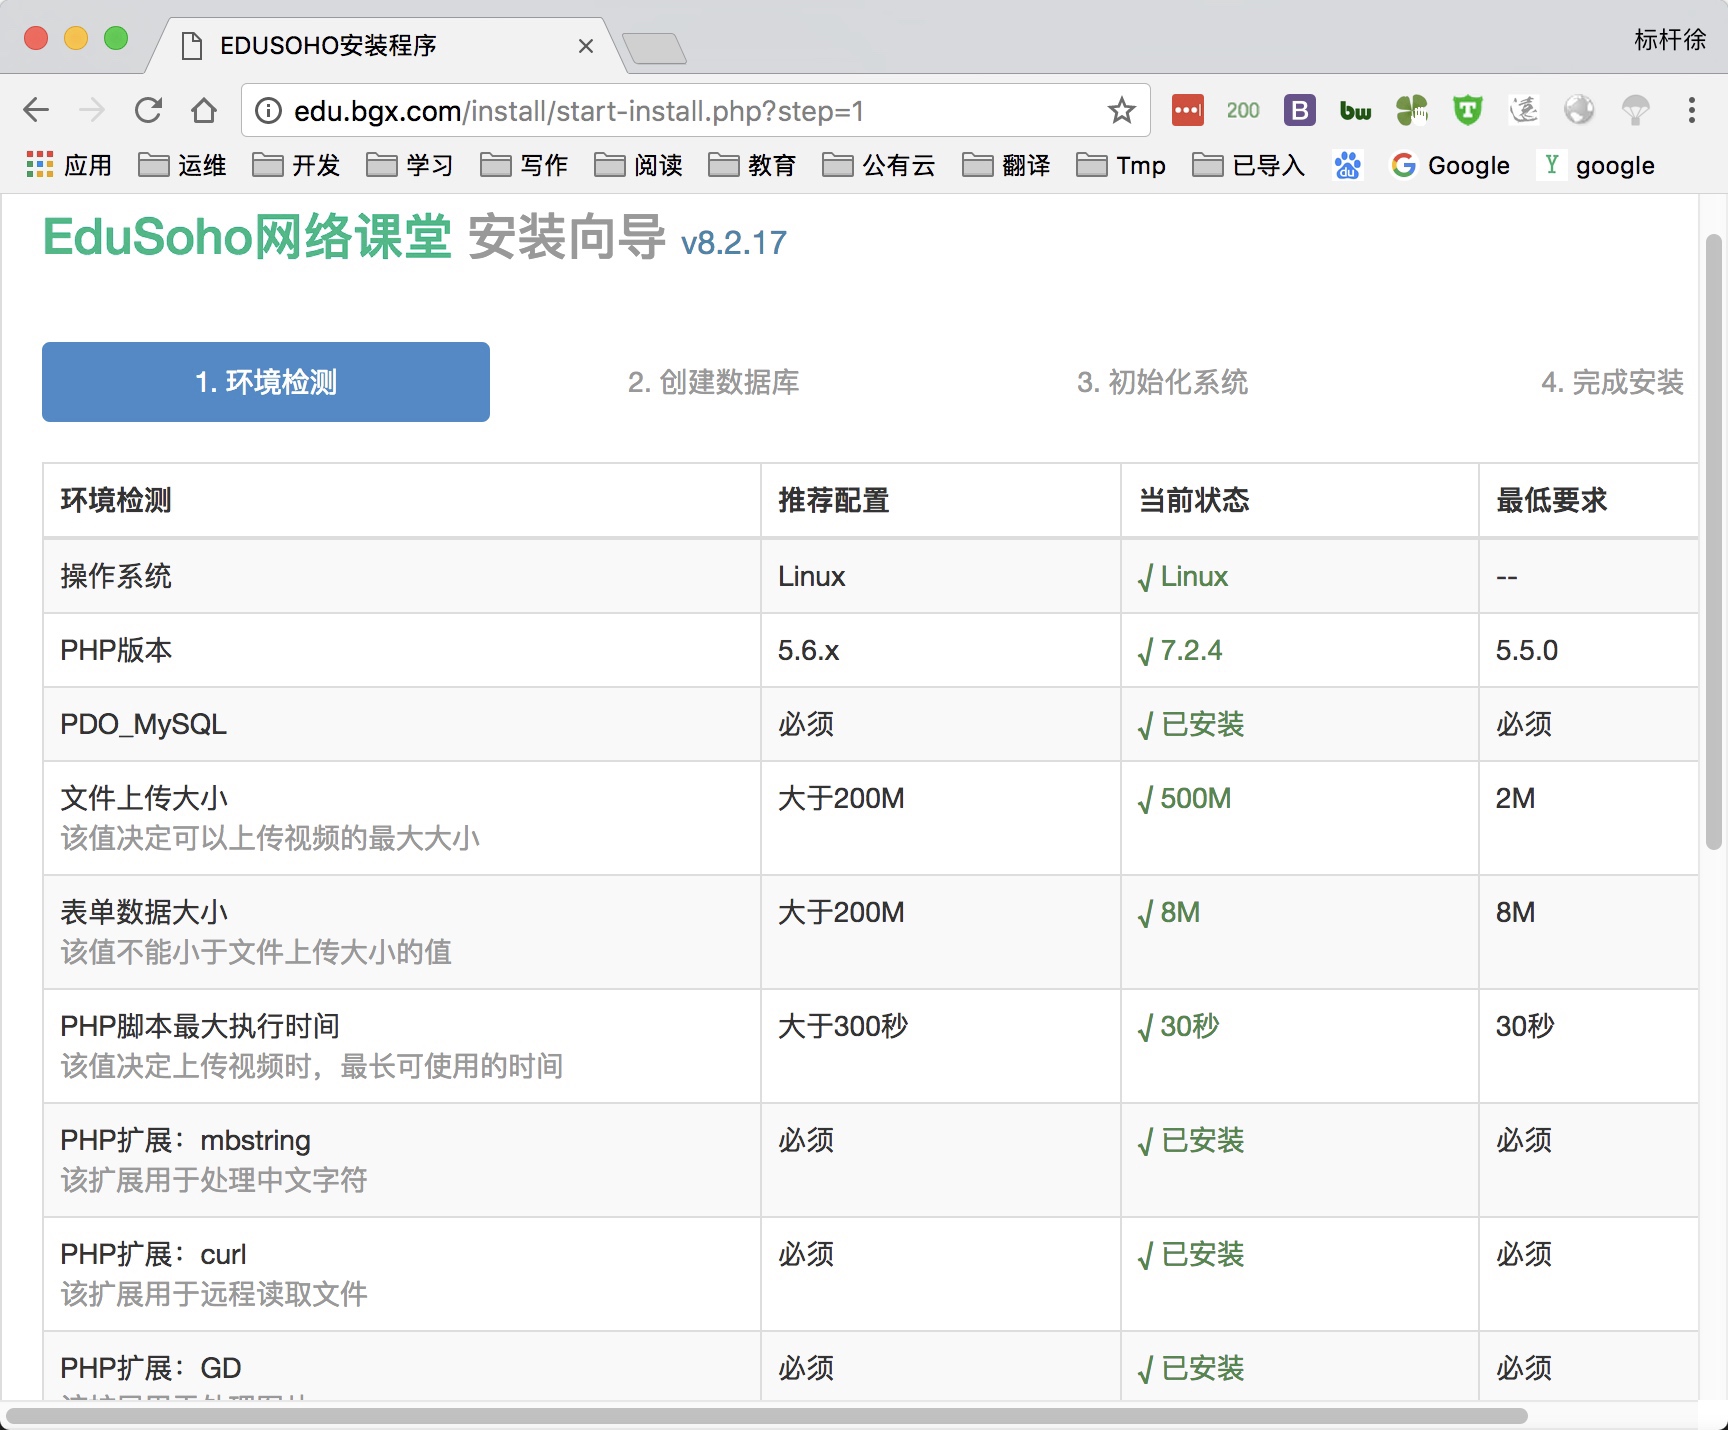
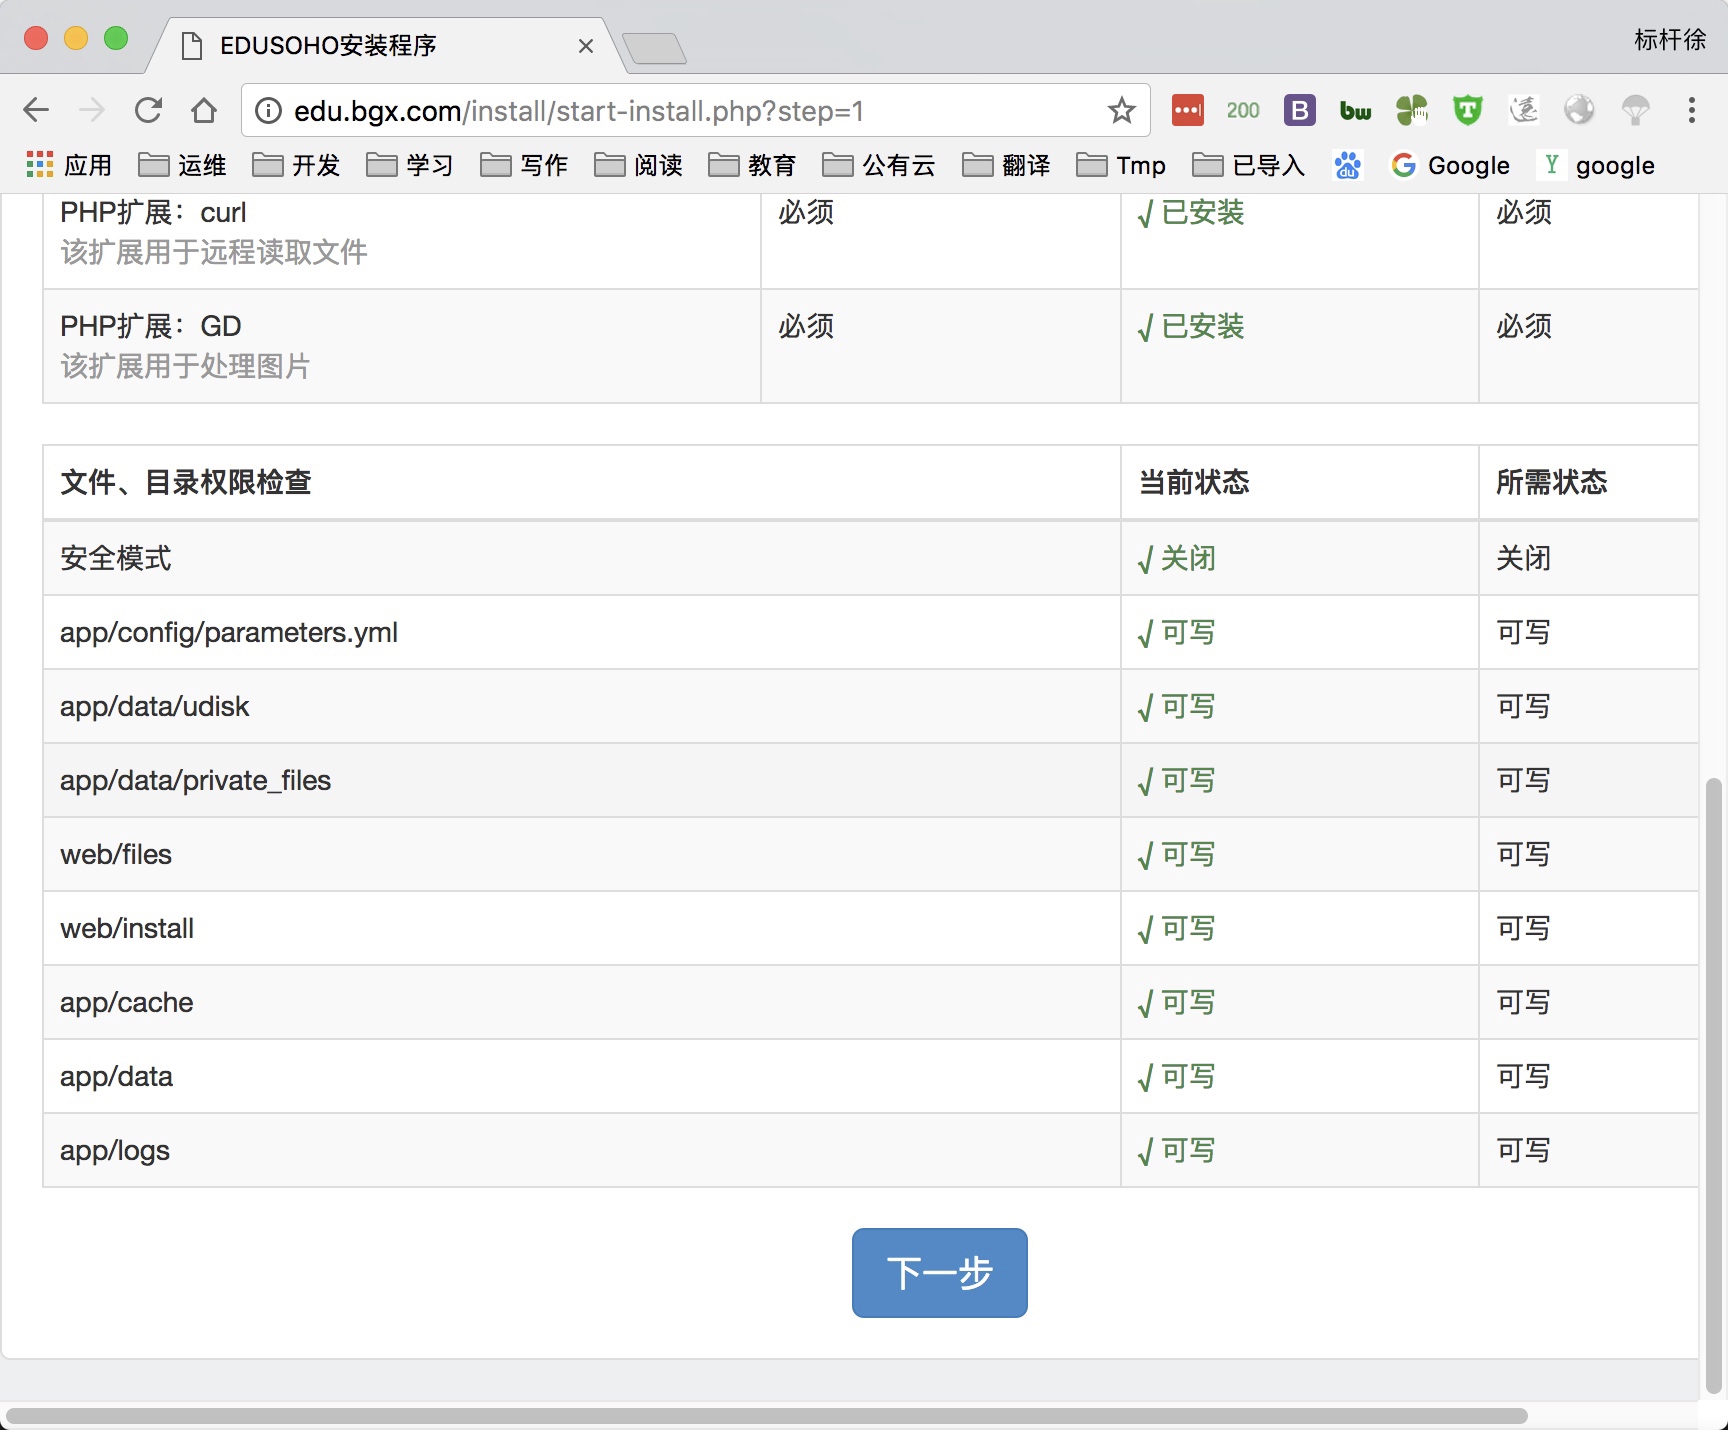
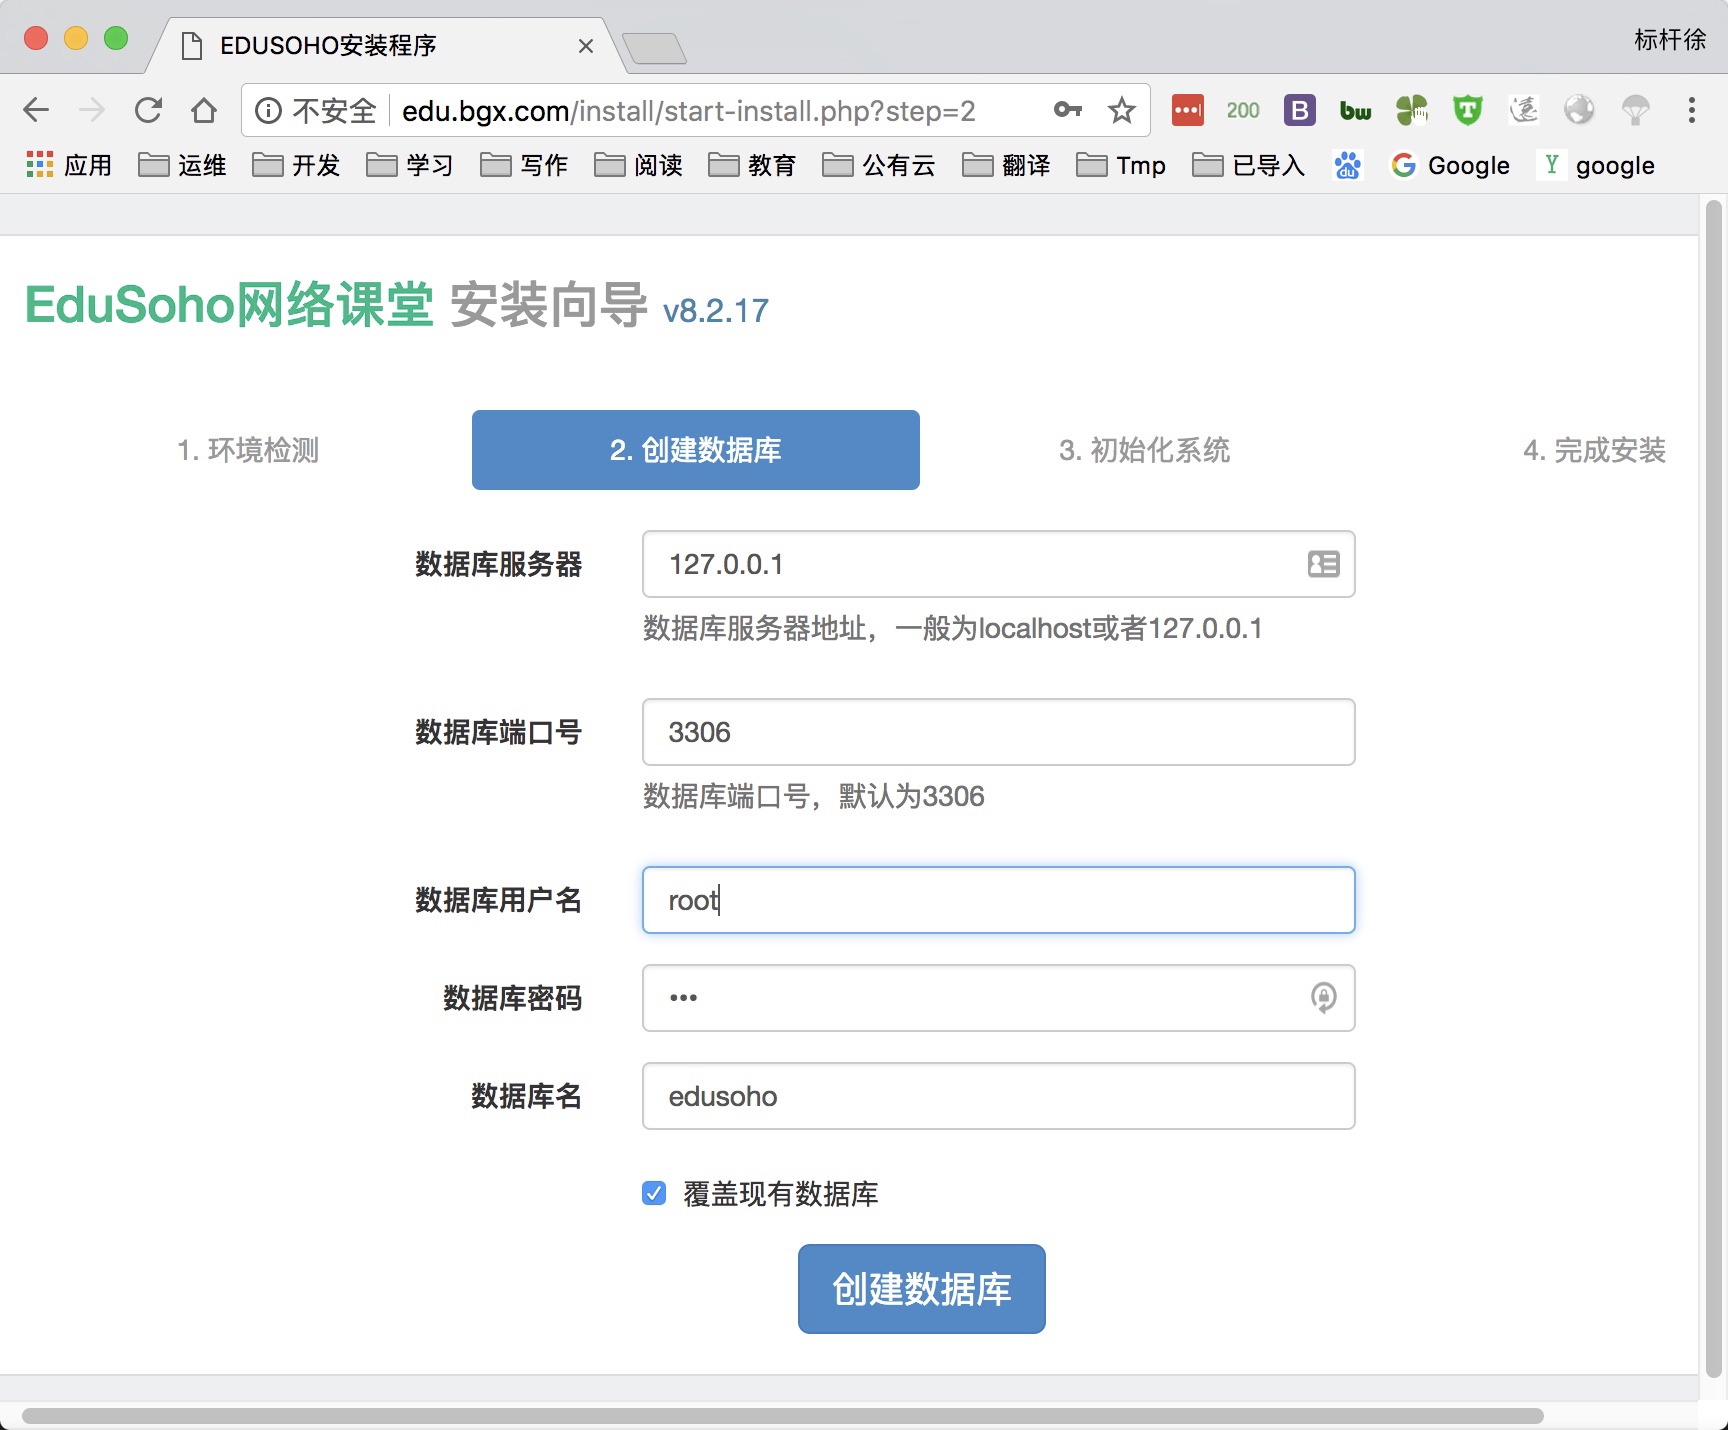
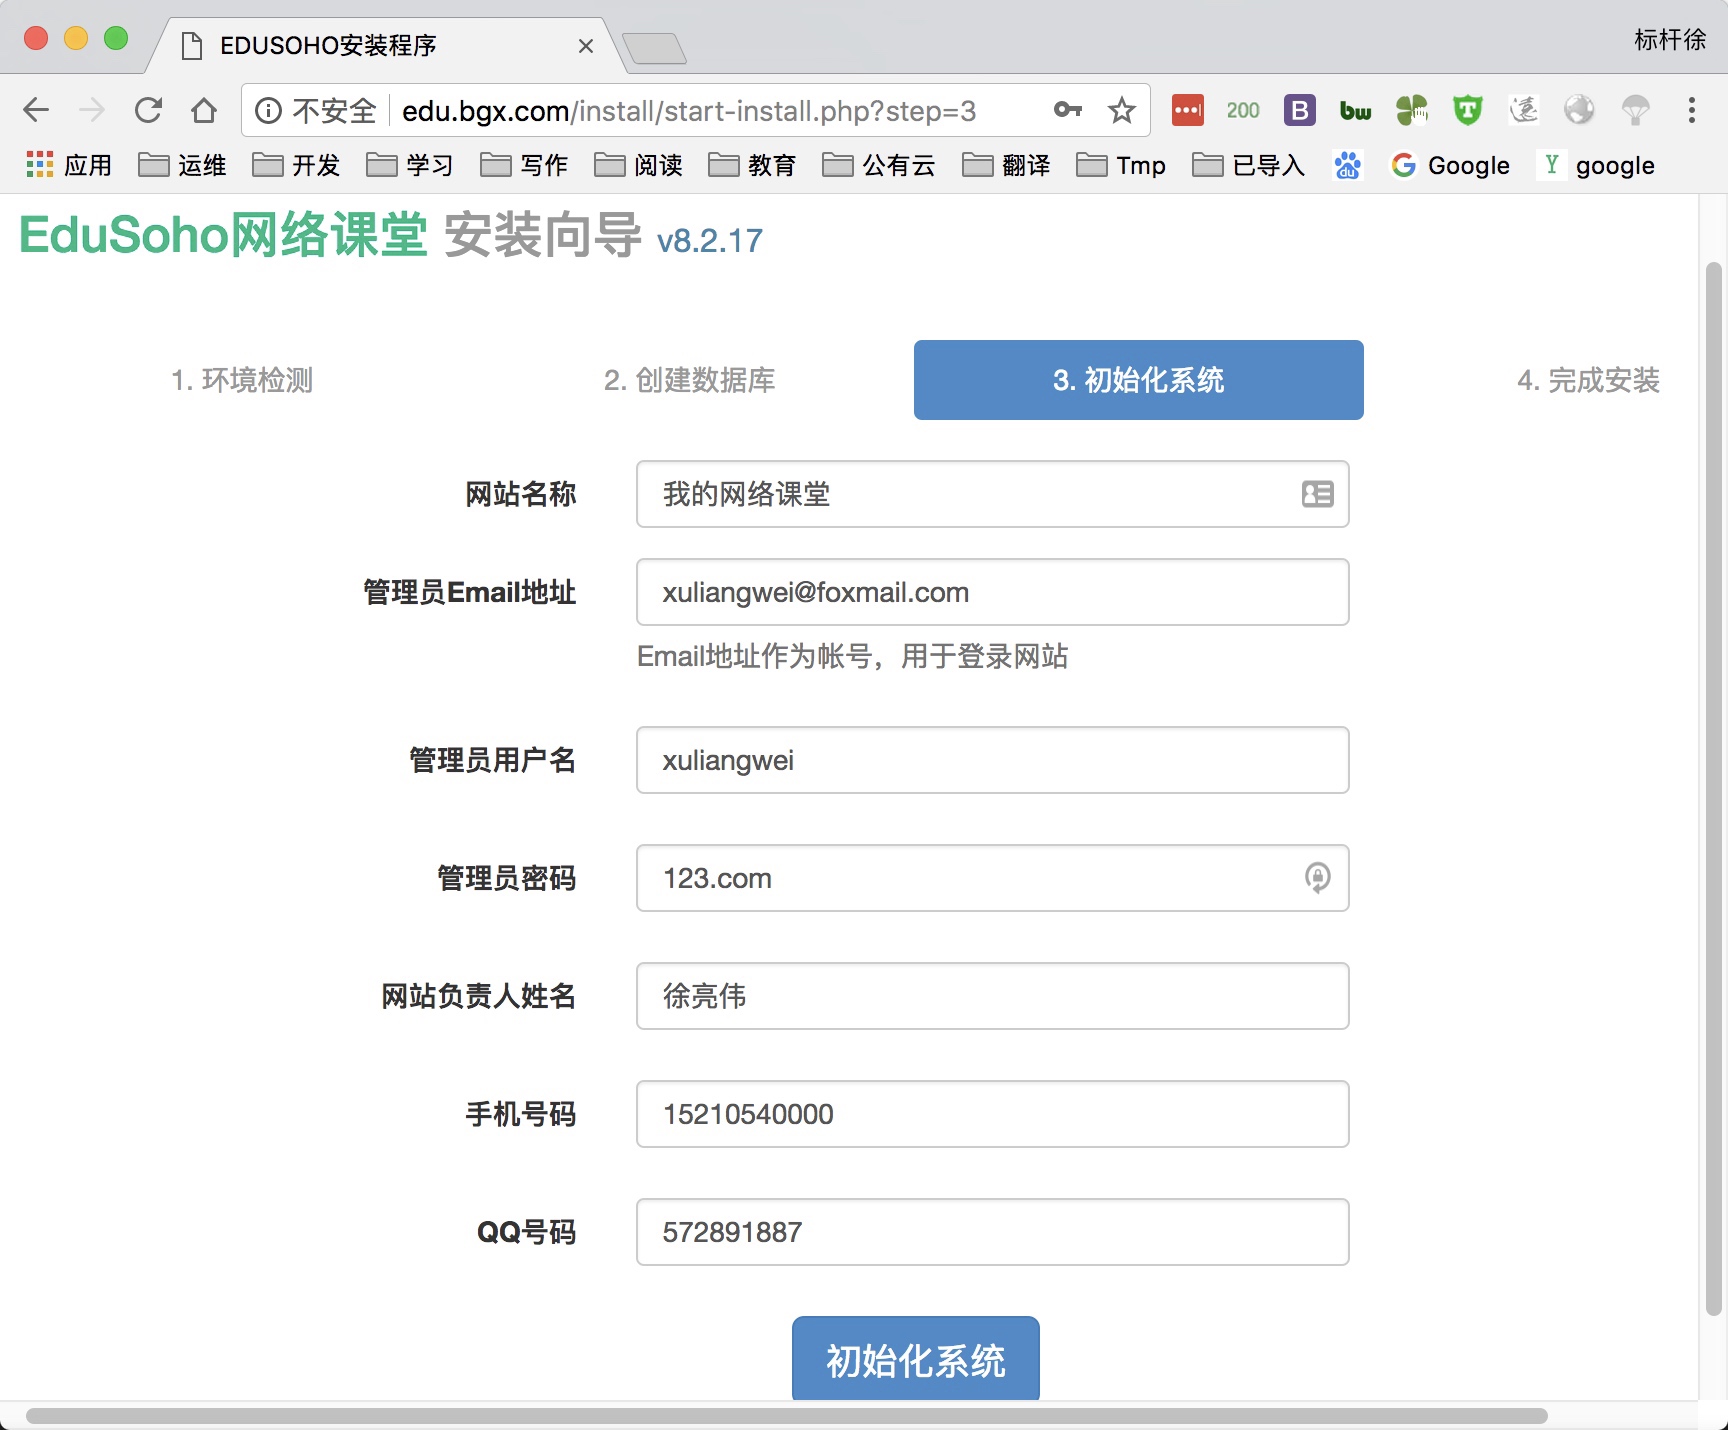
6.部署网校产品Edusohu
1.配置Nginx虚拟主机站点,域名为edu.bgx.com
[root@http-server ~]
server {
    listen 80;
    server_name edu.bgx.com;
    root /code/edu;
    index index.php index.html;

        location ~ \.php$ {
        root /code/edu;
                fastcgi_pass   127.0.0.1:9000;
                fastcgi_index  index.php;
                fastcgi_param  SCRIPT_FILENAME  $document_root$fastcgi_script_name;
                include        fastcgi_params;
        }
}


[root@http-server ~]
2.下载edusohu产品,部署edusohu并授权
//获取wordpress代码
[root@http-server ~]
[root@http-server /soft/src]# wget http://download.edusoho.com/edusoho-8.2.17.tar.gz

//解压软件网站源码文件, 并授权站点目录,不然会导致无法安装
[root@http-server /soft/src]
[root@http-server /soft/src]
[root@http-server ~]
[root@http-server ~]

//由于edusohu会自动创建数据库, 所以无需创建数据库
3.通过浏览器访问网站
7.迁移数据至独立服务器
拆分LNMP的数据库到独立的数据库服务器步骤
1.老服务器操作
1) 指定导出对应的数据库文件(Bgx123.com是数据库密码)
[root@web02 ~]# mysqldump -uroot -p'Bgx123.com' --all-databases --single-transaction > `date +%F%H`-mysql-all.sql
2) 拷贝备份数据库文件至新的数据库服务器上
[root@web02 zh]
2.新服务器操作
1) 导入旧的数据库至新的数据库中
[root@db01 ~]
2) 登录新的数据库, 并检查数据库已被导入成功
[root@db01 ~]
mysql> show databases;
3) 在新数据库上授权, 允许所有网段, 通过all账户连接数据库
mysql> grant all on  *.* to all@'%' identified by 'Bgx123.com';
Query OK, 0 rows affected (0.00 sec)

mysql> flush privileges;
Query OK, 0 rows affected (0.00 sec)
4) 修改Wordpress产品代码连接数据库的配置文件
[root@web01 ~]

define('DB_NAME', 'wordpress');

define('DB_USER', 'all');

define('DB_PASSWORD', 'Bgx123.com');

define('DB_HOST', '172.16.1.51');
5) 修改wecenter产品代码连接数据库的配置文件
[root@web01 zh]
system/config/database.php:  'password' => 'Bgx123.com',
[root@web01 zh]
'host' => '172.16.1.51',
'username' => 'all',
'password' => 'Bgx123.com',
'dbname' => 'zh',
6) 修改edusoho产品代码连接数据库的配置文件
[root@web01 edu]
app/config/parameters.yml:    database_password: 'Bgx123.com'

[root@web01 edu]
parameters:
    database_driver: pdo_mysql
    database_host: 172.16.1.51
    database_port: 3306
    database_name: edu
    database_user: all
    database_password: 'Bgx123.com'


[root@web01 edu]
8.迁移图片至独立服务器
1.nfs-server服务端操作
1) 配置nfs共享的目录
[root@nfs01 ~]
/data/blog 172.16.1.0/24(rw,sync,all_squash,anonuid=666,anongid=666)
/data/edu 172.16.1.0/24(rw,sync,all_squash,anonuid=666,anongid=666)
/data/zh 172.16.1.0/24(rw,sync,all_squash,anonuid=666,anongid=666)
2) 创建对应共享的目录
[root@nfs01 ~]
[root@nfs01 ~]
[root@nfs01 ~]
2.web01端操作
1) WEB客户端验证NFS是否安装成功
[root@web01 ~]
[root@web01 ~]
Export list for 172.16.1.31:
/data/zh   172.16.1.0/24
/data/edu  172.16.1.0/24
/data/blog 172.16.1.0/24
2) 获取Wordpress产品的附件和图片存放的位置
浏览器->右键->检查->Network->选择按钮->点击一下图片
3) 备份web服务器上的Wordpress图片和附件
[root@web01 wp-content]
[root@web01 wp-content]
4) 客户端执行挂载操作[Wordpress]
[root@web01 wp-content]
[root@web01 wp-content]
5) 将挂载信息加入开机自启
[root@web01 wp-content]
172.16.1.31:/data/blog  /code/wordpress/wp-content/uploads nfs defaults 0 0
[root@web01 wp-content]
3.web02端操作
1) 客户端挂载nfs服务端存储
[root@web02 ~]
2) 将挂载信息加入开机自启
[root@web02 ~]
172.16.1.31:/data/blog  /code/wordpress/wp-content/uploads nfs defaults 0 0
[root@web02 wp-content]
9.扩展相同的Web服务器
快速的扩展一台web服务器10.0.0.9, 数据库使用10.0.0.51,图片与附件使用10.0.0.31
1) 创建www用户
[root@web03 ~]
[root@web03 ~]
2) 安装LNP
[root@web03 ~]
[root@web03 ~]

[root@web03 ~]
[root@web03 ~]
3) 将web01的nginx配置文件导入到web03
[root@web03 ~]
4) 将web01的php配置文件导入到web03
[root@web03 ~]
5) 将web01的产品代码导到web03,在web1上线进行打包操作
[root@web01 ~]


[root@web03 ~]


[root@web03 ~]
6) 启动nginx与php-fpm服务
[root@web03 ~]
[root@web03 ~]
7) 在web03上进行挂载
[root@web03 ~]
转 xuliangwei.com

评论